AIP, Vegan, Gluten Free, Dairy Free, No Egg, No Processed Sugar
At family gatherings we always have dips, cheese and biscuits before eating lunch or dinner, but I usually can’t eat any of the bought products because they have gluten, dairy, processed sugar and are full of chemicals. I still don’t know why people prefer to buy something like Hummus as it’s is so easy to make and delicious when made from scratch.
The hardest part of this recipe is planning ahead if you want to use dried chickpeas and soak them in spring water overnight. Everything else is pretty straight forward, just make sure you use a hand blender as it makes life a lot easier.
Can people with allergies eat Hummus?
If you have gluten and dairy allergies you will be happy to know that hummus is gluten free and dairy free and is still something you can enjoy. This recipe also is AIP and Paleo compliant which means that the ingredients in this recipe are not inflammatory for your stomach and immune system. It’s also vegetarian and vegan as there are no eggs.
Hummus can be changed into many different flavours to suit your allergies, like taking out the peanut butter if you have a nut allergy. The peanut butter I recommend is raw organic peanuts blended with no other additions.
Organic Food is it worth it….
I don’t eat any processed food and only eat organic food that is made from scratch. I choose to eat food that is not grown using chemicals. Yes organic food is more expensive but it is worth it, eating chemically grown food can really affect your health if you are like me and have an auto immune disease or other health issues.
Organic food is nutrition and has all the antioxidants but doesn’t last as long without the chemicals, which is good because you know it is fresher.
Hummus origins and nutritional benefits….
The dip is a popular Middle Eastern spread that is rich in vitamins and minerals. Studies have linked the components of hummus to a number of astounding health advantages, including bettering blood sugar regulation, reducing inflammation, lowering the risk of heart disease, increasing digestive health, and aiding with weight loss.
Hummus has a high fiber level, which provides the added benefit of maintaining a regular digestive system. It’s a delicious and simple method to increase your dietary fiber intake, which lowers your risk of developing heart disease. Hummus has a significant amount of protein, which is necessary for the health of the blood, muscles, skin, and bones.
Tahini, a sesame seed butter with a lot of monounsaturated fats, is usually used to make hummus. These fats have health advantages in that they support weight loss and decreased abdominal fat. Polyunsaturated fats and trans fat, which raise belly fat and make you gain weight, are frequently substituted with monounsaturated fat.
Tahini and chickpeas both contain calcium, which promotes strong bones. When they approach their senior years, women in particular need additional calcium to prevent osteoporosis. Additionally, they have iron, which helps increase your energy levels and lessen iron deficiency.
Since hummus is strong in protein and makes you feel fuller for longer, eating it can help you manage your blood sugar levels. Try eating some hummus if you feel a craving for something.
How long does the Hummus last….
I buy raw/dried chickpeas so that I can use spring water to rehydrate them overnight. Having Hashimoto’s Thyroid disease, I have to be careful about the water I consume and chemicals like chlorine or fluoride can really affect your thyroid. Once prepared the Hummus lasts about 1-2 weeks in the fridge and usually makes a big bowl full. It’s the perfect snack or lunch to take when travelling because it doesn’t need to be in the fridge, it’s just best to keep refridgerated so it lasts longer. If you get tired of eating the hummus and have left overs that you don’t want to waste then try using it in a stir fry or a butter chicken recipe. You can also freeze hummus, but I haven’t tried that yet.
Let’s start cooking….
Soak the raw/dried chickpeas in a bowl with enough spring water to cover the chickpeas overnight in the fridge. The next day cook the chickpeas in a frying pan on low heat for an hour in the spring water and with a lid on. Just make sure you stir every 15 minutes so it doesn’t burn on the bottom of the chickpeas and to check the water is still covering the chickpeas.
You can also use chickpeas from a can, just pour them and the water into the pan and cook the same way as above. You can just use the chickpeas straight from the can but they will blend better once slightly cooked.
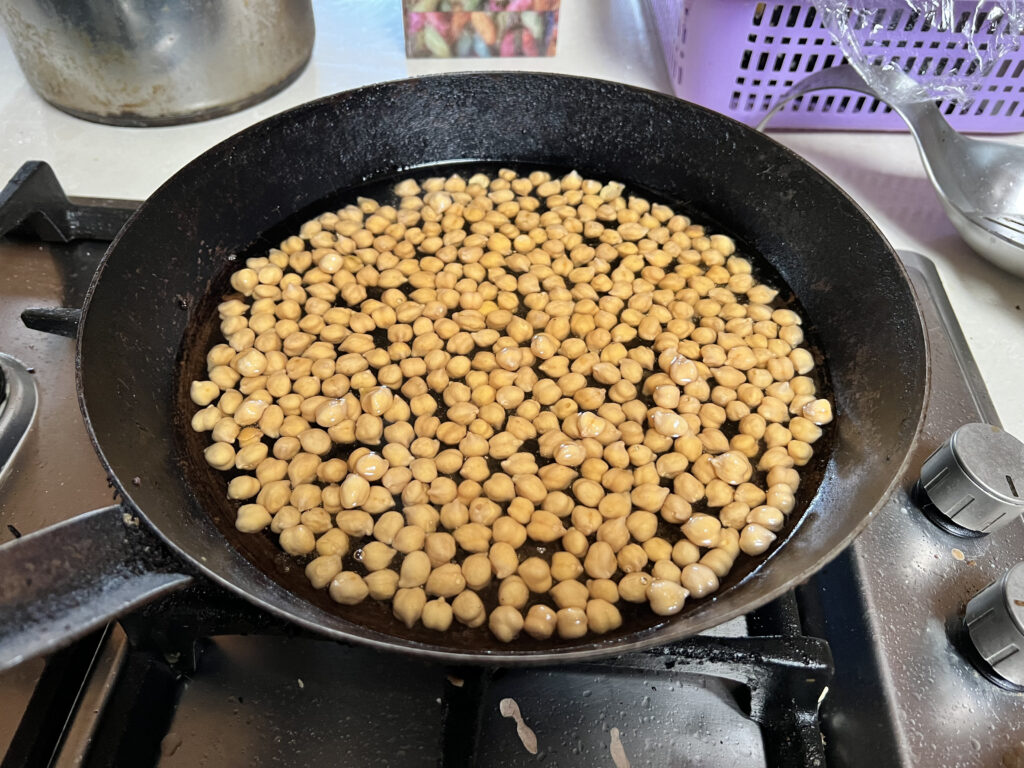
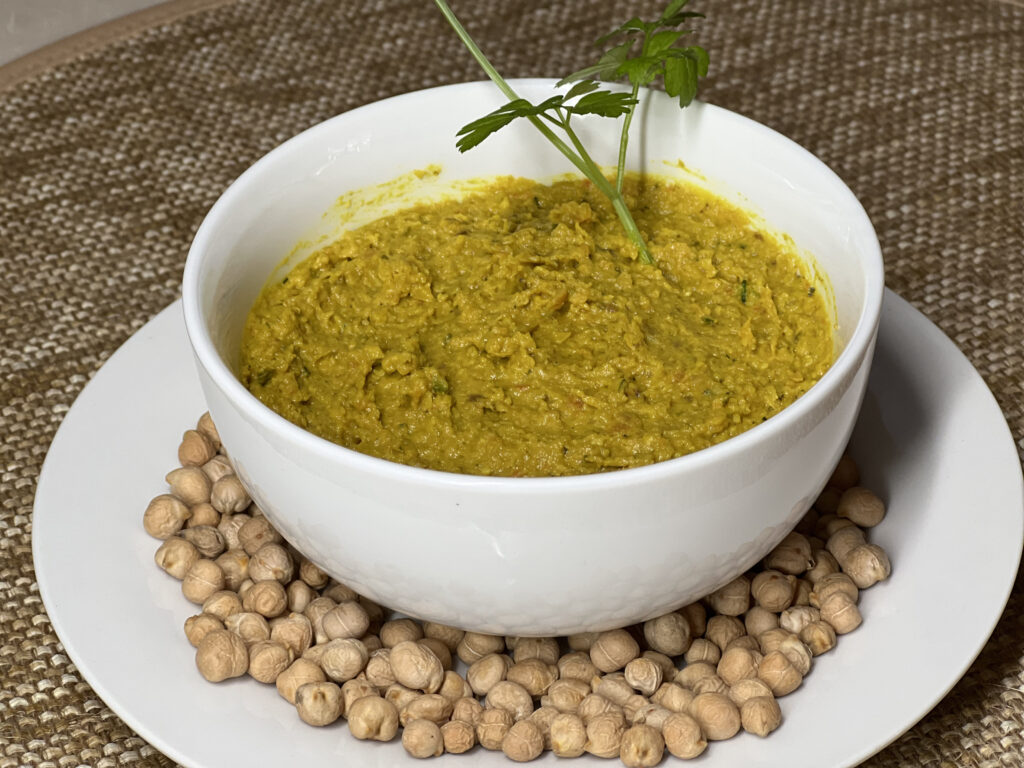
The chickpeas become soft and bigger when cooked, like in the photo below. You can use a food processor to blend all your ingredients but I usually just use a hand blender.
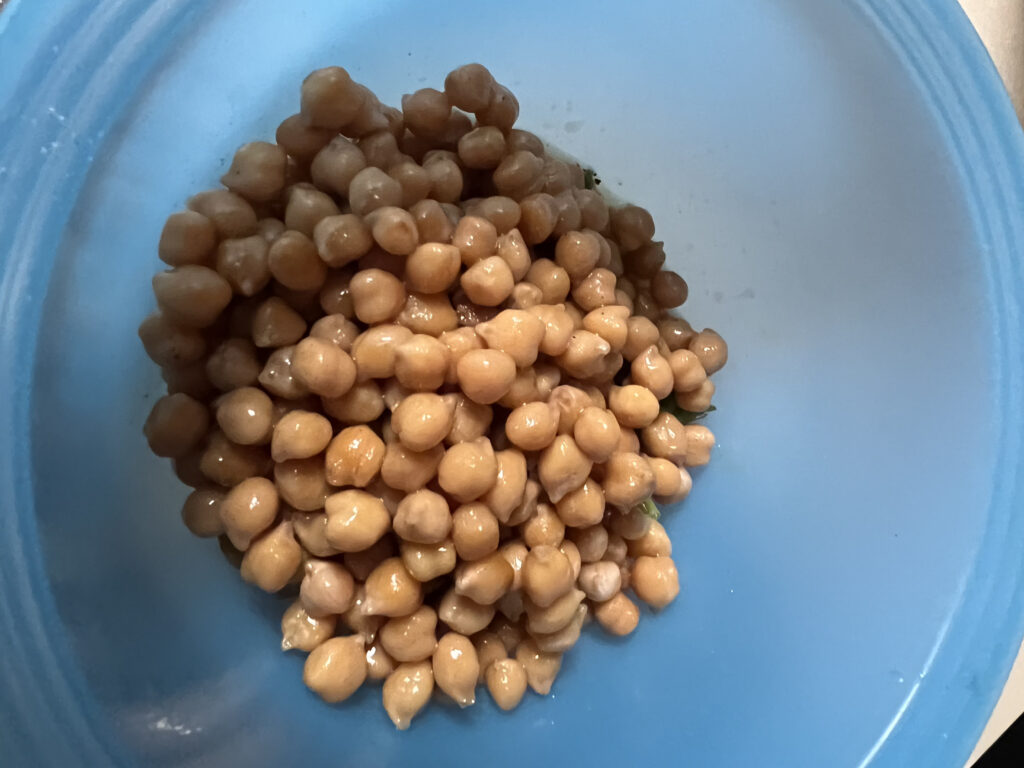
Once the chickpeas are cooked, pour the water and chickpeas into a bowl or container you will use to blend with a hand blender. The next step is to cut up the onion then put the pan back on high heat to remove excess water then add some oil and cook the onions. Turn down to a low heat after a few minutes to let the onions cook slowly while you prepare the rest of the ingredients. Cut up the garlic and add to the onions.
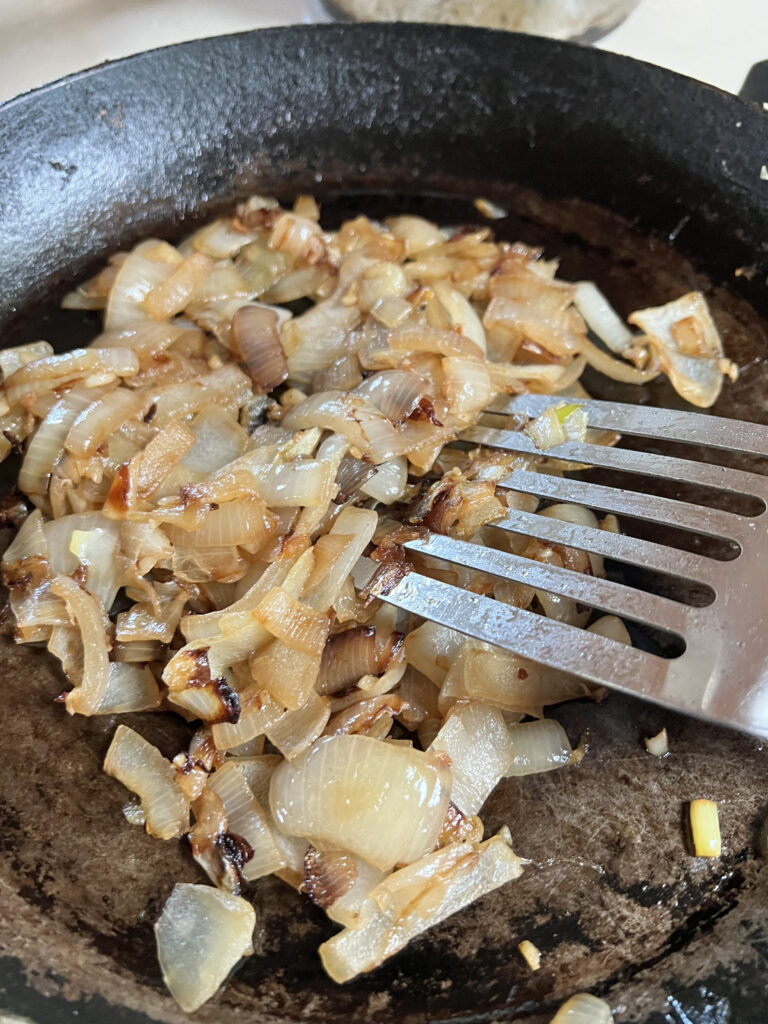
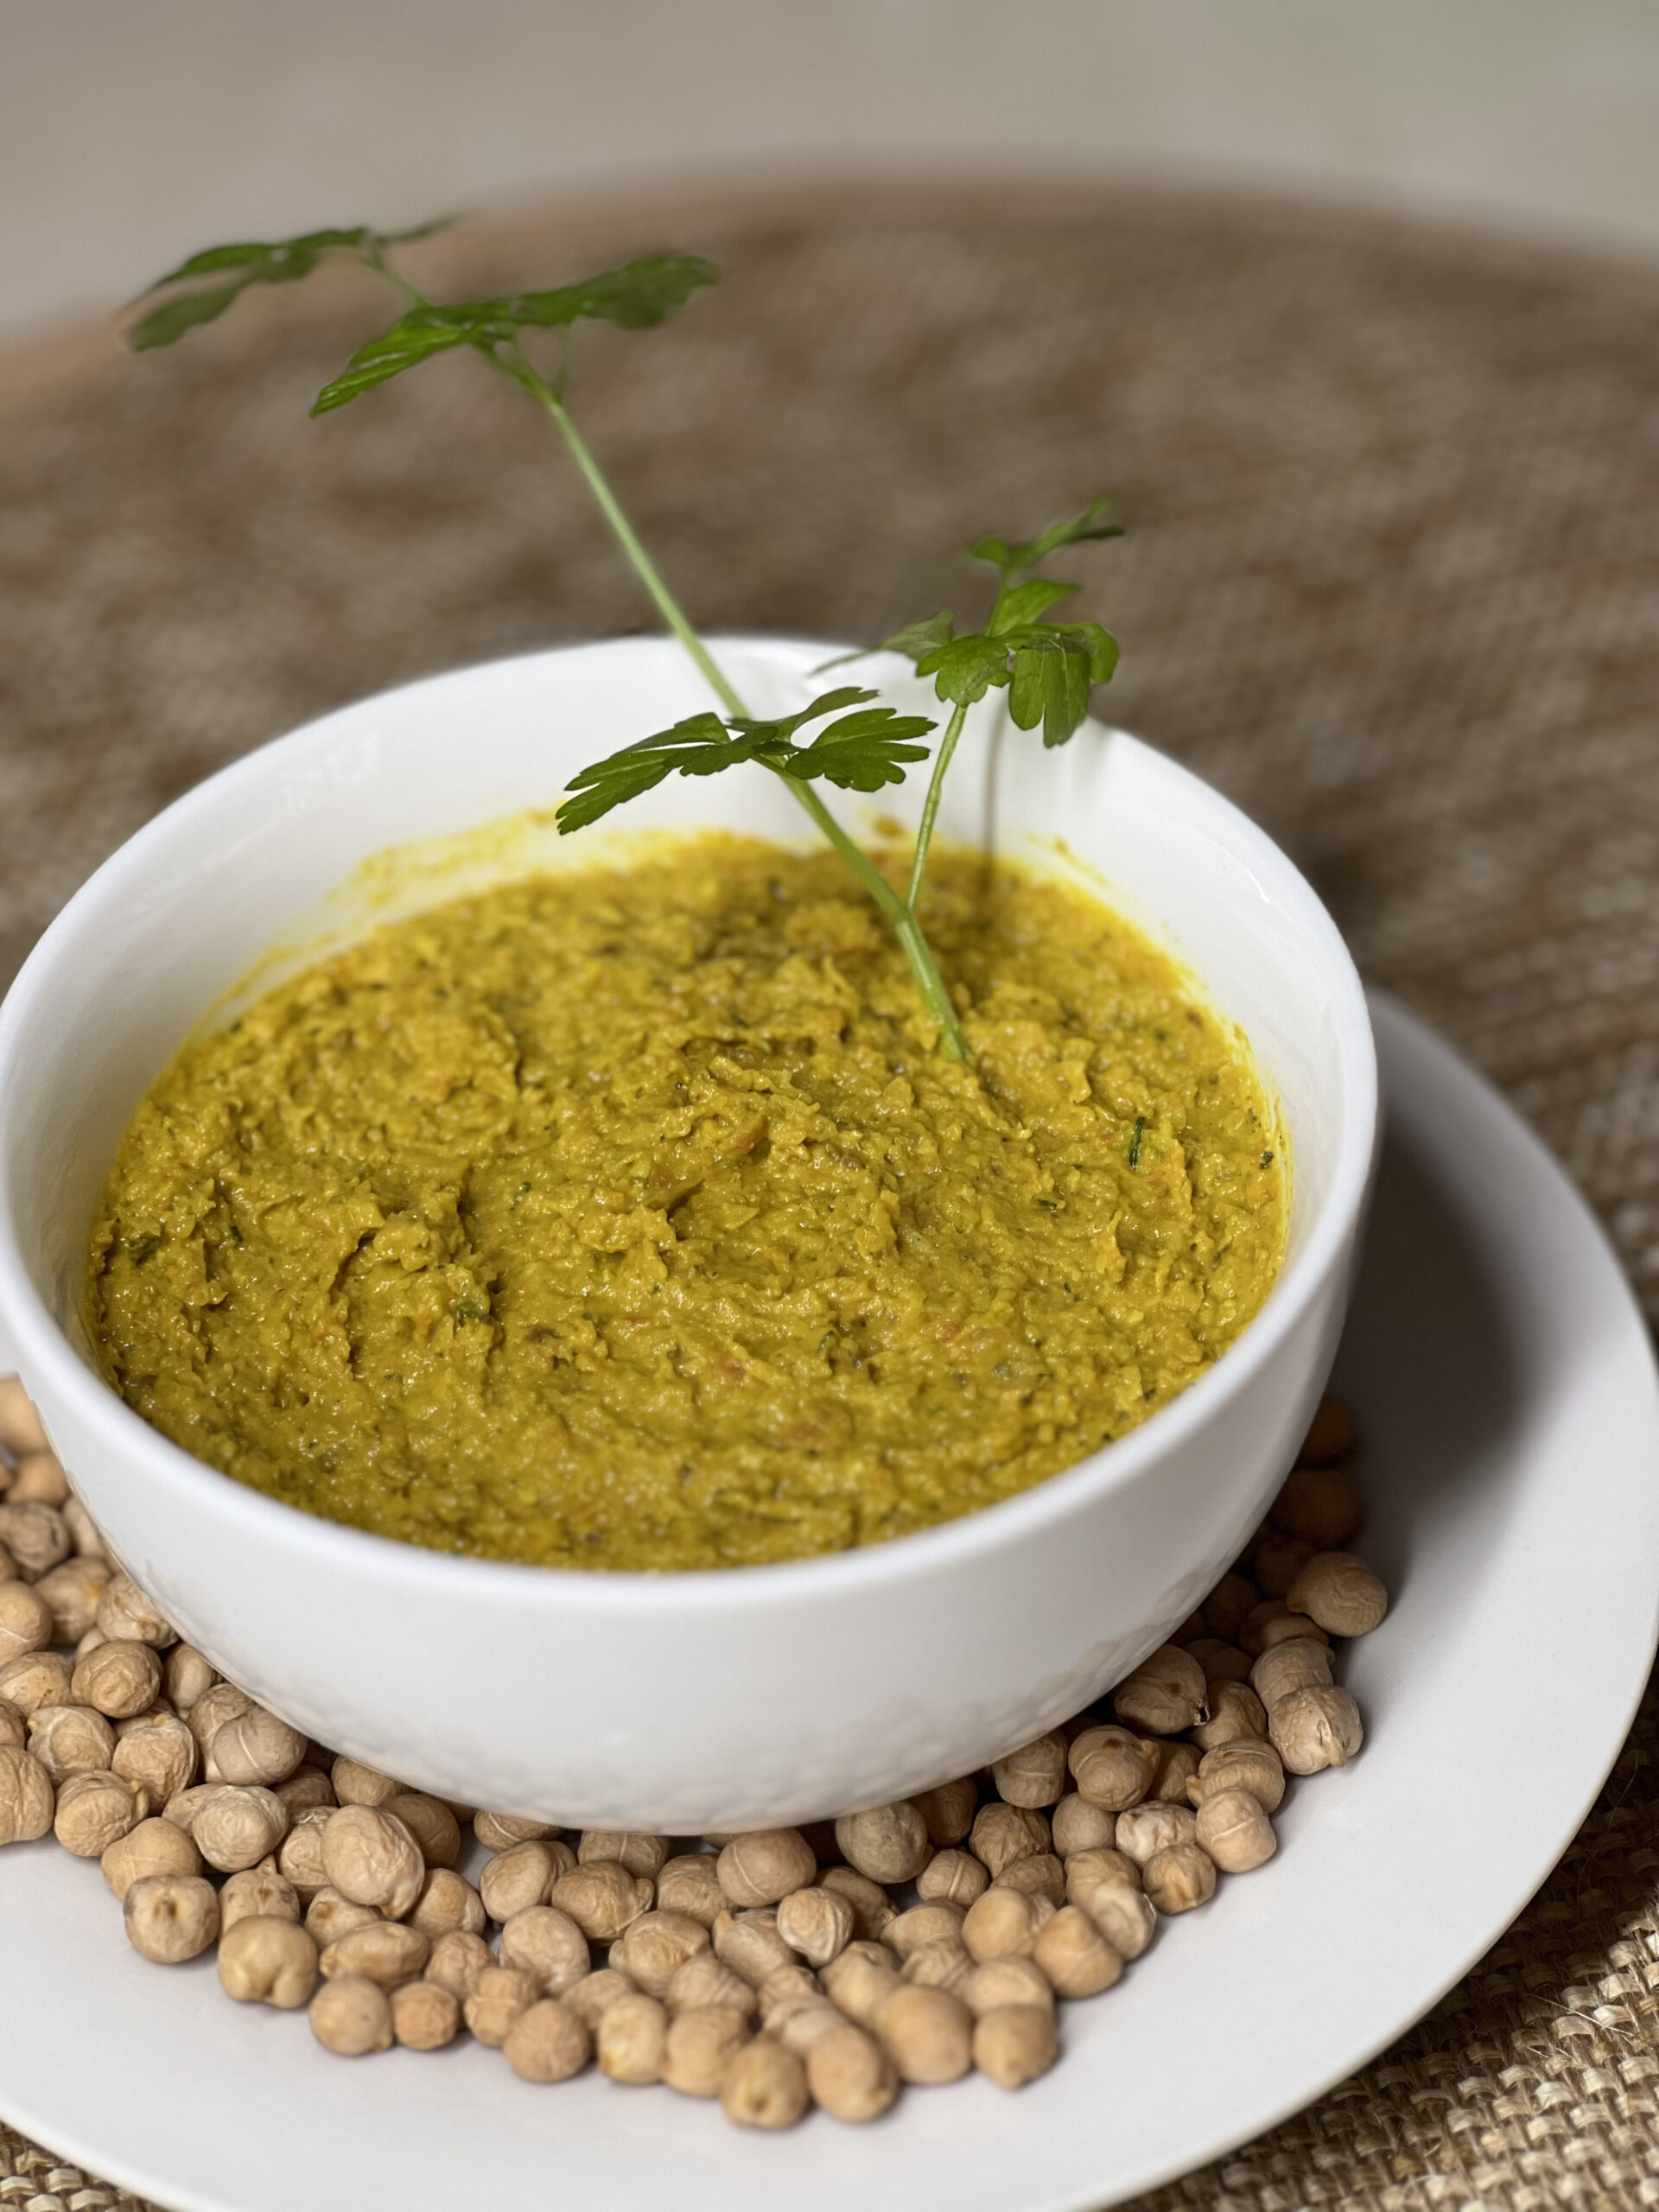
While the onions are slowly caramelizing, add the rest of the ingredients to the bowl or food processor. Then, add the cooked onions and garlic then blend the mixture until you get a nice smooth and soft end result. The finished dip is below in the picture. If your mixture is still too thick then just add a little more oil or water and blend again, if it is too thin then just add arrowroot flour.
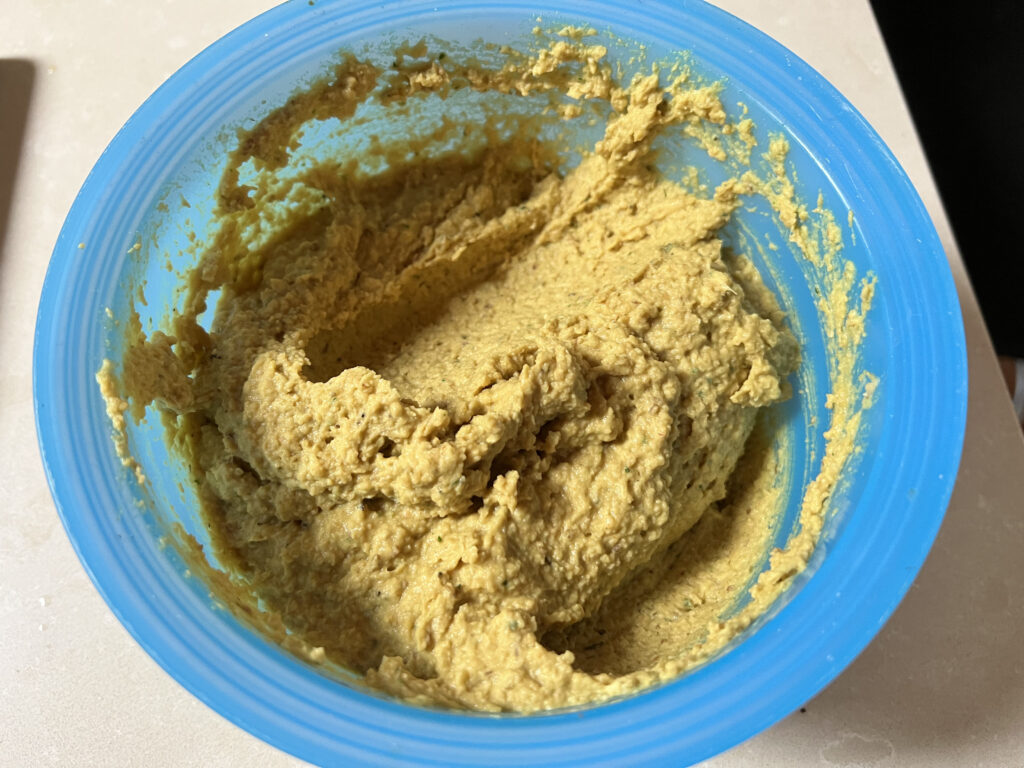
It’s nice and soft and will last a week in the fridge in a container. I eat my dip with rice biscuits, chickpea biscuits or cassava wrap. This is the link for the cassava wrap it only takes 5 minutes to make and 5 minutes to cook in a frying pan with no oil, Cassava Wrap Recipe.
After creating the hummus base you can change the flavour by adding veggies, fruits, spices and herbs
This recipe is perfect for anyone with or without allergies as it tastes delicious and is super healthy. If you can eat different types of nuts then definitely add your favourites into the recipe as it adds a nice nutty and buttery taste.
If you like this recipe you will love my other recipes



If you try this recipe let me know in the comments below the post.
FOLLOW ME on Facebook, Instagram, Pinterest and Twitter to see more delicious food and get all the latest updates.
Equipment
Ingredients
- 400 g Dried Chickpeas
- 3 cups Spring Water
- 1 onion
- 2 garlic cloves
- ¼ cup olive oil
- 1 tsp lemon juice
- 2 tbsp sauerkraut
- 1 tbsp pepitas roasted ground. Omit for AIP
- 5 walnuts
- 10 macadamias nuts
- 2 tbsp pine nuts
- 1 tbsp garlic powder
- 1 tbsp onion powder
- 1 tsp salt
- 1 tsp pepper omit for AIP
- 1 tbsp turmeric powder
- 2 tbsp ground cumin
- 1 tbsp peanut butter heaped
- 1 tbsp tahini omit for AIP
- 1 tsp sesame oil swap for avocado oil for AIP/Paleo
- 1 tsp cilantro leaves chopped
- ½ tsp rosemary chopped
- ½ tsp thyme chopped
- ½ tsp oregano chopped
- ½ tsp sage chopped
- ½ tsp parsley chopped
Instructions
- Soak the raw/dried chickpeas in a bowl with the spring water overnight.
- Put the chickpeas and left over spring water into a frying pan and cook on low heat for 1 hour with a lid. Stir every 15 minutes just to make sure they are not burning, top up with water if the chickpeas are not fully covered.
- If you only have raw pepitas, then place on a tray, spray with olive oil and cook in the oven at 150°C/300°F for 20 minutes. Once cooked, crush with a mortar and pestle.
- Cut up the onion and garlic and cook until slightly brown on a low heat
- Put all ingredients in a bowl and blend
- If the hummus is too thick after blending, keep adding 1 tbsp of olive oil and 1 tbsp of water until it gets to the desired consistency

Leave a Reply