AIP, Vegan, Vegetarian, Paleo, Gluten Free, Dairy Free, No Eggs, No Nuts and No Processed Sugar
Thai Crispy Rice Crackers are a healthy snack that uses glutinous rice also know as sticky rice. You can buy them from asian grocery stores and they are a commonly sold on the streets of Thailand as a snack. I adjusted a recipe from my sister in law who is from Thailand so that I could eat them as well, instead of using watermelon juice I swapped to pineapple juice with date syrup instead of using sugar.
This is a healthier version of the rice bubble recipes served at kids birthday parties because there is no gluten, dairy, eggs and is processed sugar free, so kids can eat as many as the want without getting a sugar high.
Substitutions:
You can’t use other rice because it won’t become sticky when cooked and won’t bind together.
How to store the Thai Crispy Rice Cracker?
Store in a glass container on the kitchen bench.
How long will it last?
It should last a 1-3 days if kept in an air tight container, by the 3rd day aren’t as crispy and are stale.
Can I freeze it?
I am not sure about freezing them because I haven’t tried to.
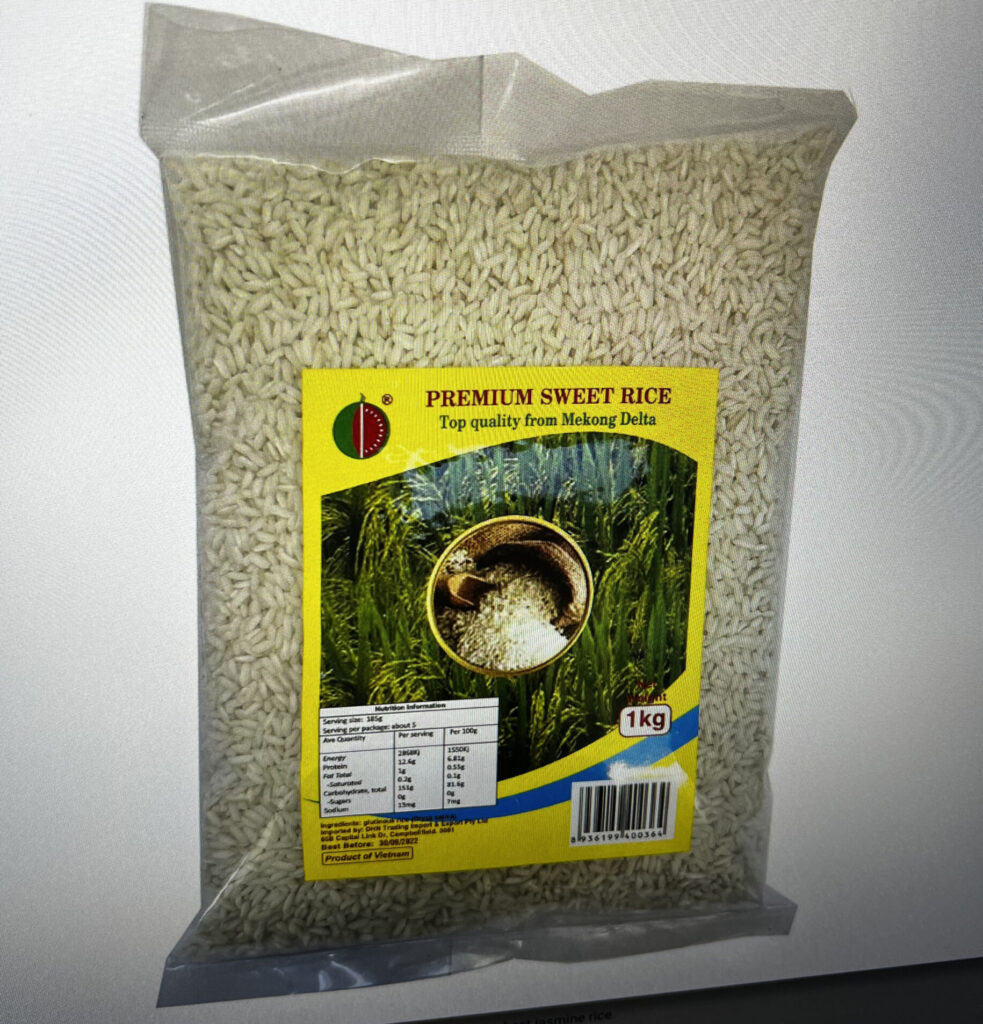
The photo below is what to look for at supermarkets .
Instructions:
Put the rice in a stainless steel mixing bowl and cover with water, soak overnight. The rice does expand as it soaks up some of the water.
Tip: Cooking the rice without soaking it in water will result in a significantly longer cooking time, up to an additional hour.
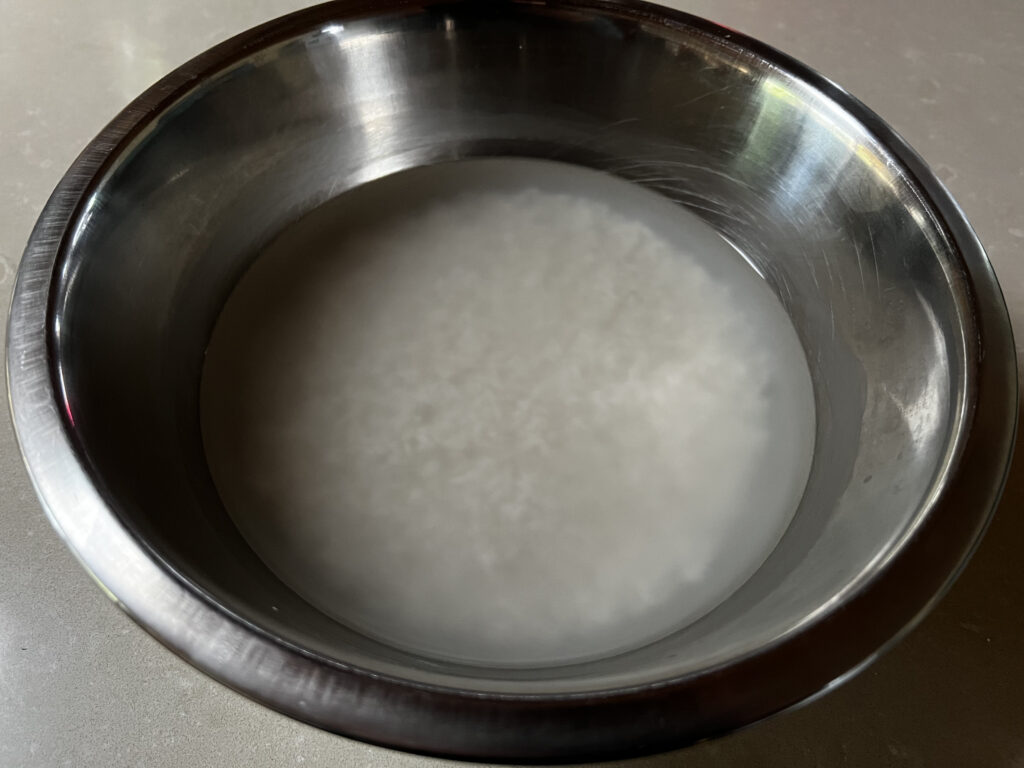
The following day, fill the bottom of the saucepan with the water that the rice had been soaking in.
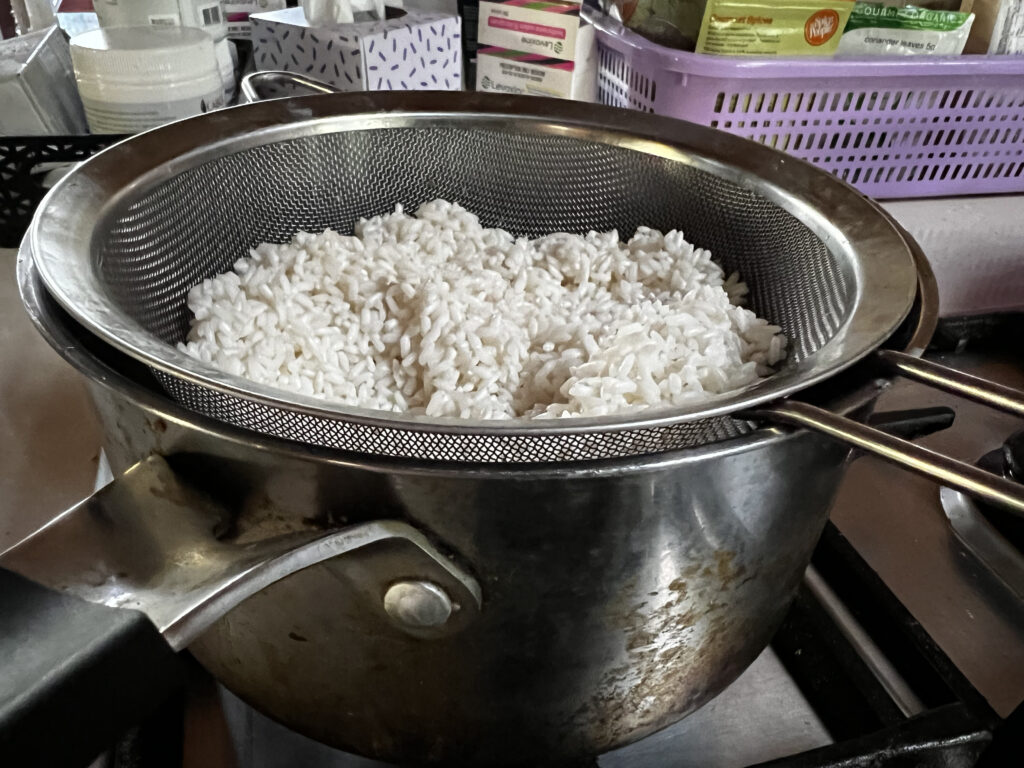
Rice should be placed in a strainer that will prevent it from falling through.
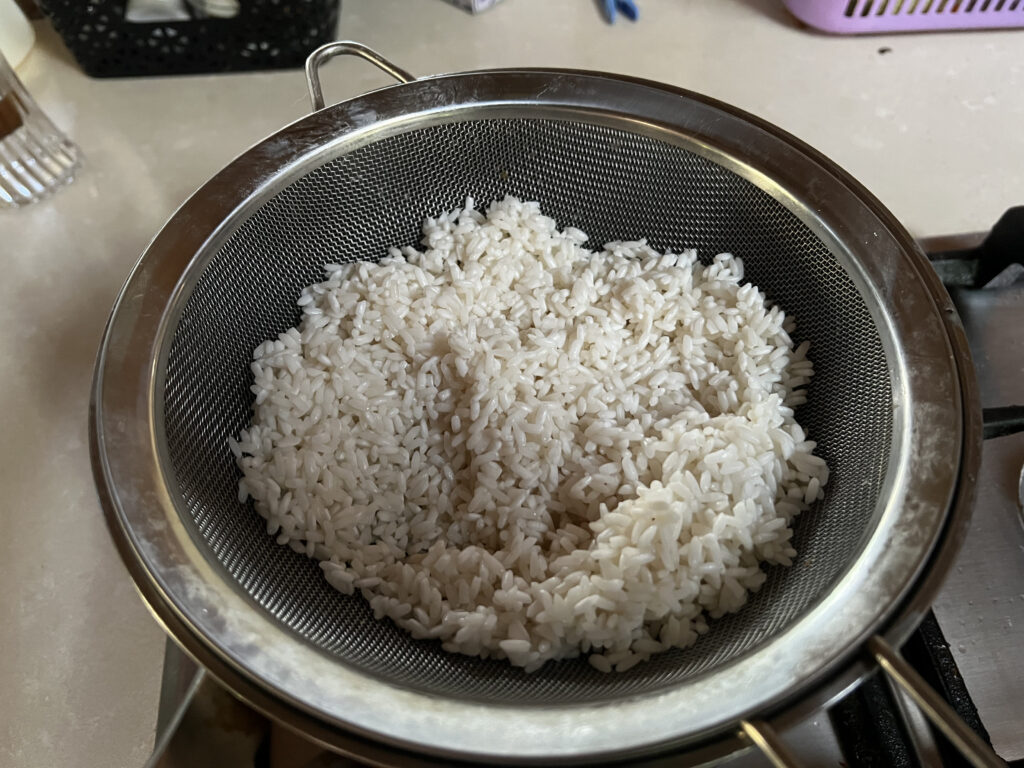
Place the strainer over the saucepan at this time.
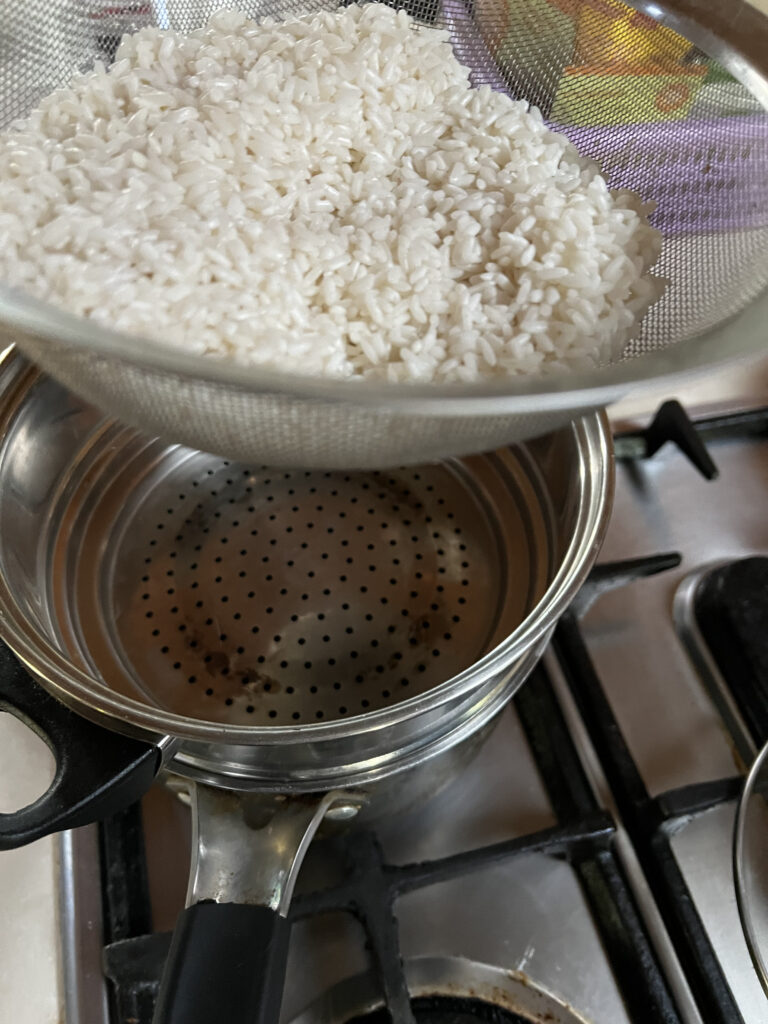
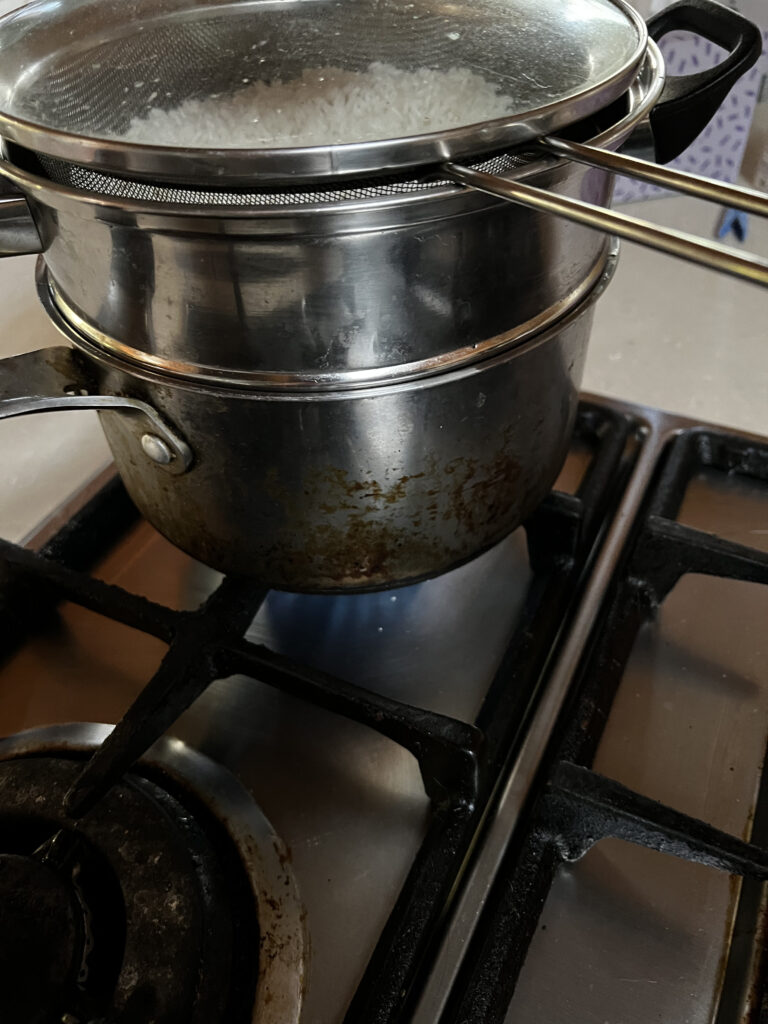
With the saucepan lid on, steam for 30 minutes.
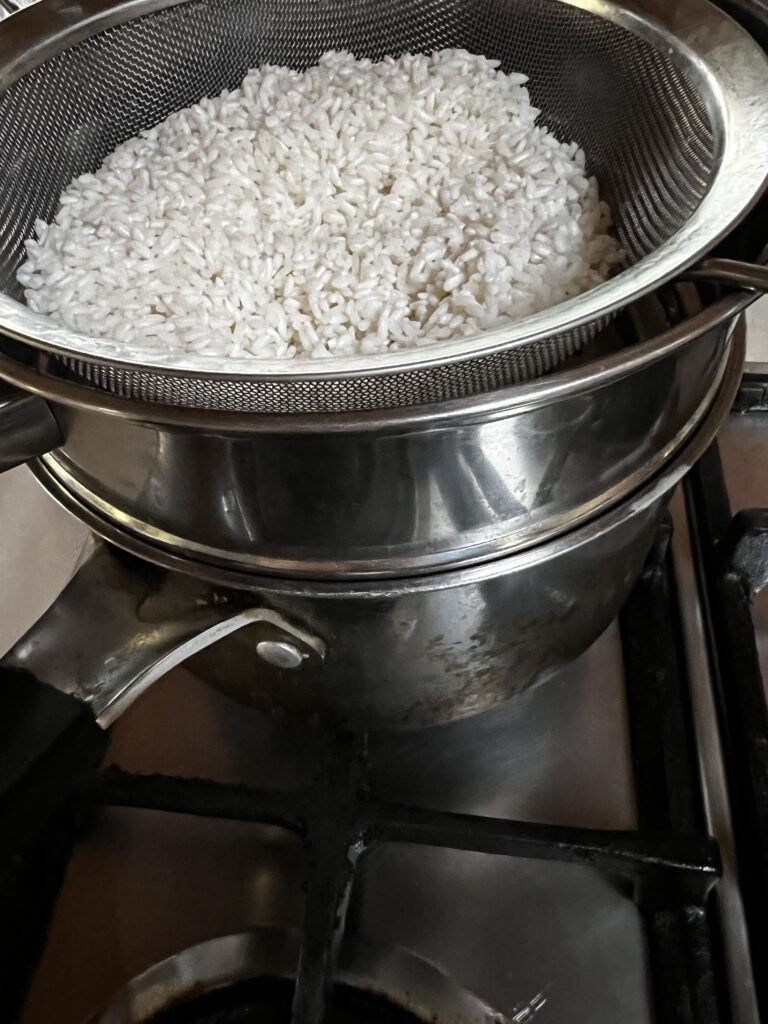
On top of the strainer, the sauce pan lid is resting.
Place the freshly cooked sticky rice onto a baking tray. and spread around, use a spoon to move the rice around, don’t use your hands because it will be too hot to touch. When it is warm enough to move, place the rice in a stainless steel mixing bowl and add the pineapple juice and date syrup until well combined.
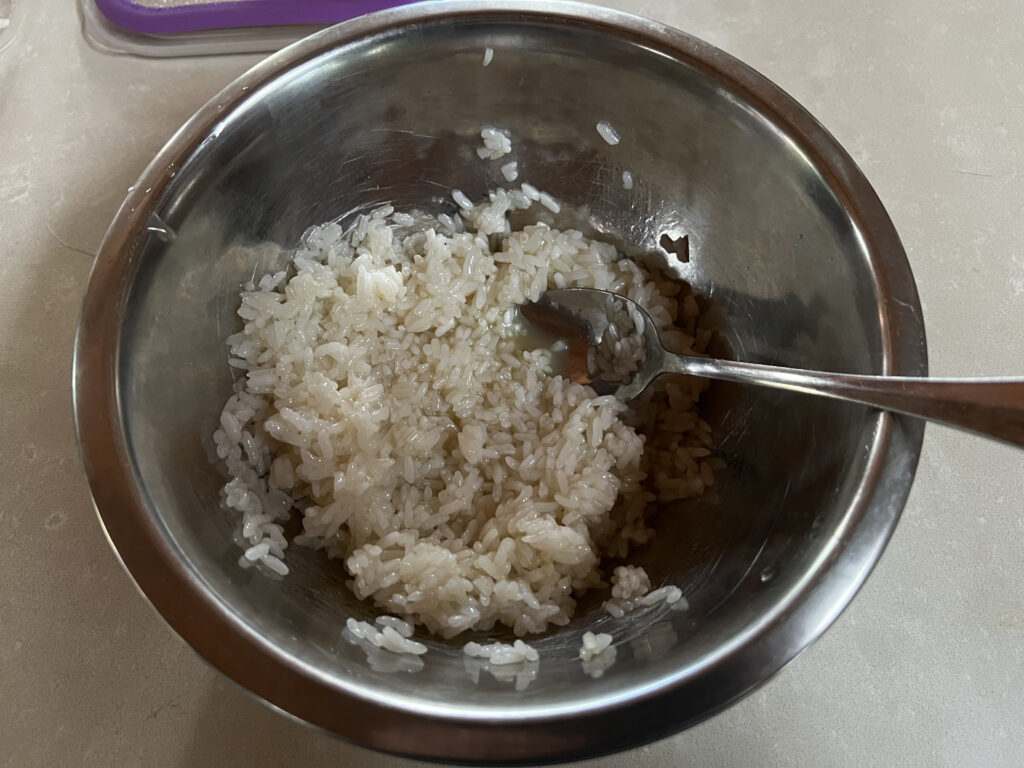
Once everything is incorporated, lay out the sticky rice on a baking sheet lined with parchment paper, and then use a cookie cutter to form it into a circle; the cookie cutter doesn’t have to be circular.
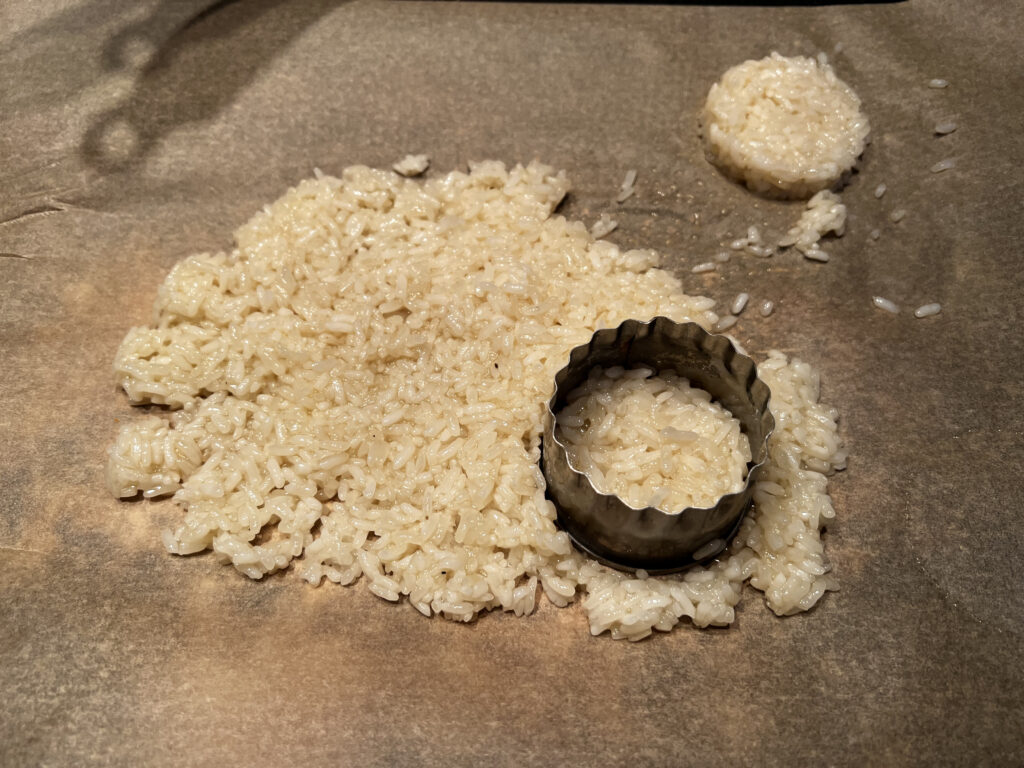
A round sliced piece should remain intact in your hand when you pick it up and not break apart. Because you will be subsequently frying them, don’t make them too thick and don’t push too hard when cutting the shape.
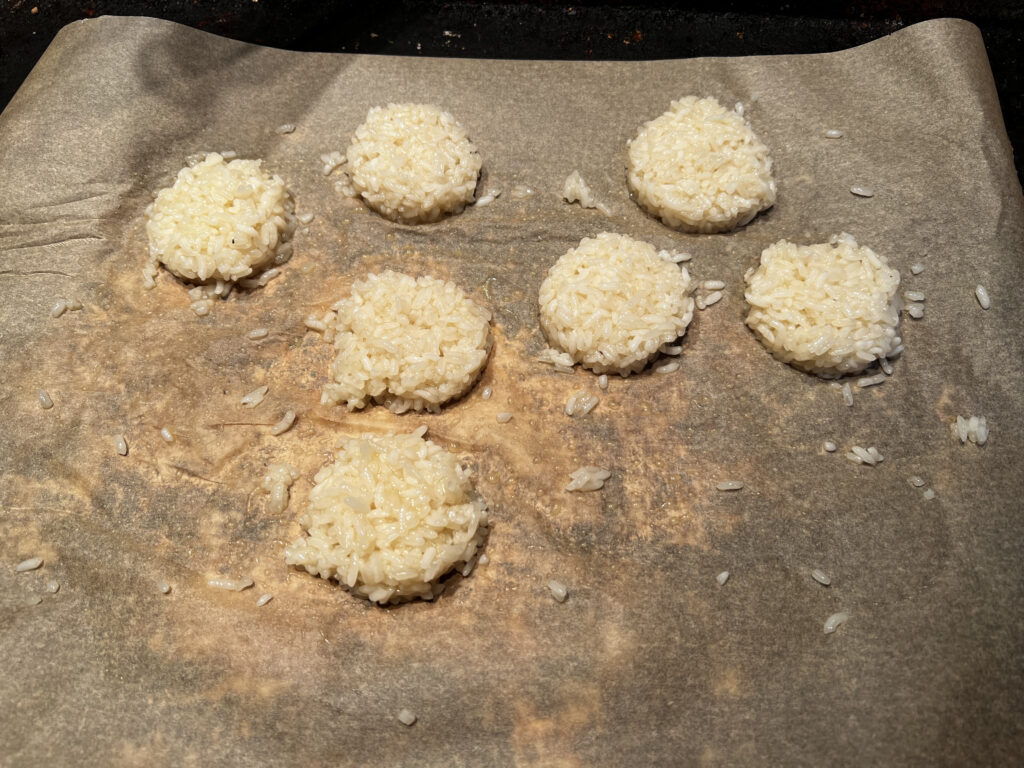
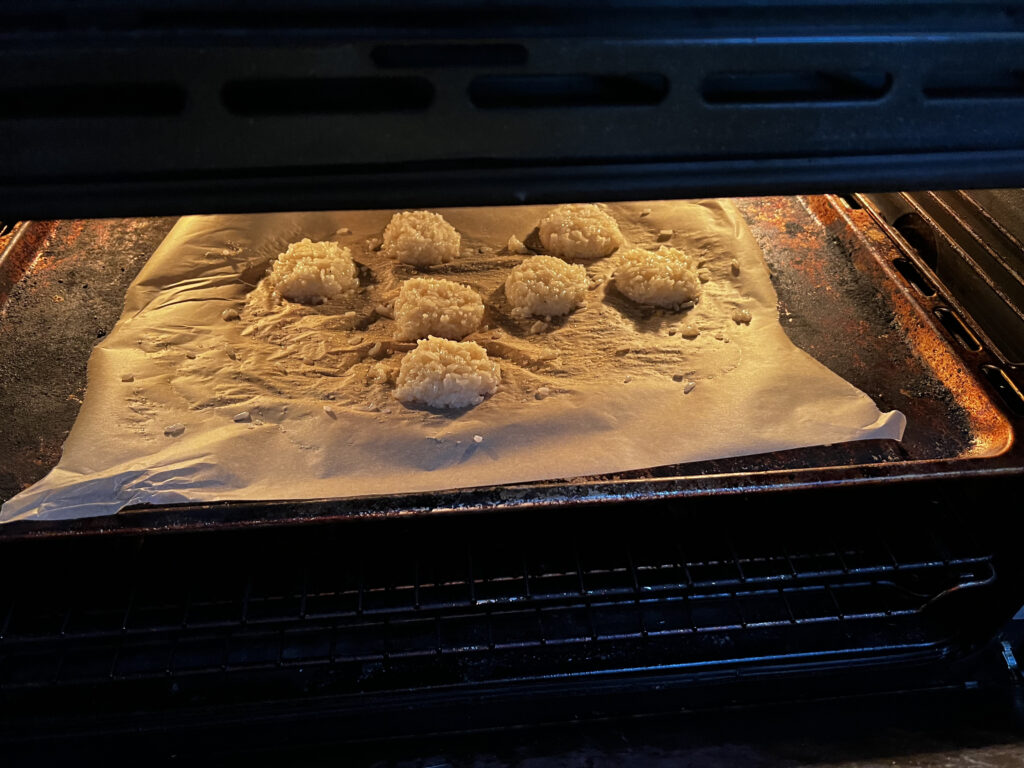
Place the baking tray in the oven at 100℃/212℉ for 10 minutes then turn off the oven and leave the door slightly open for an hour.
Repeat this mixture 3 times to dry out the mixture and get it ready for frying.
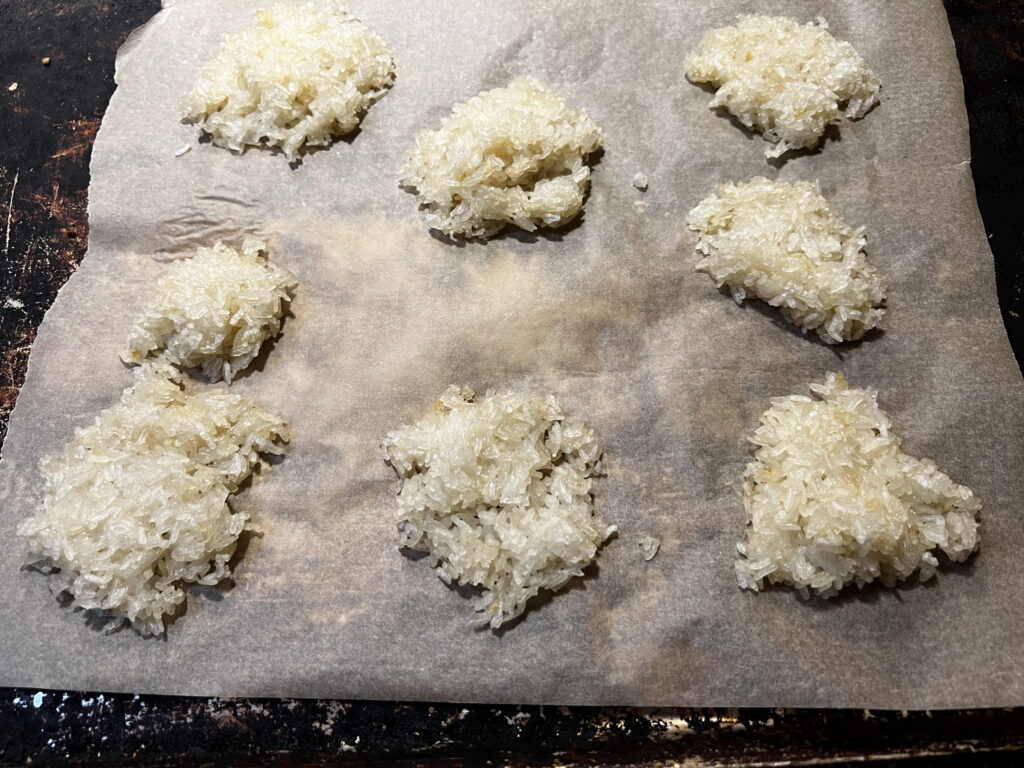
The Thai crispy rice crackers’ final appearance is depicted in the photograph below, which was taken after they had dried out in the oven.
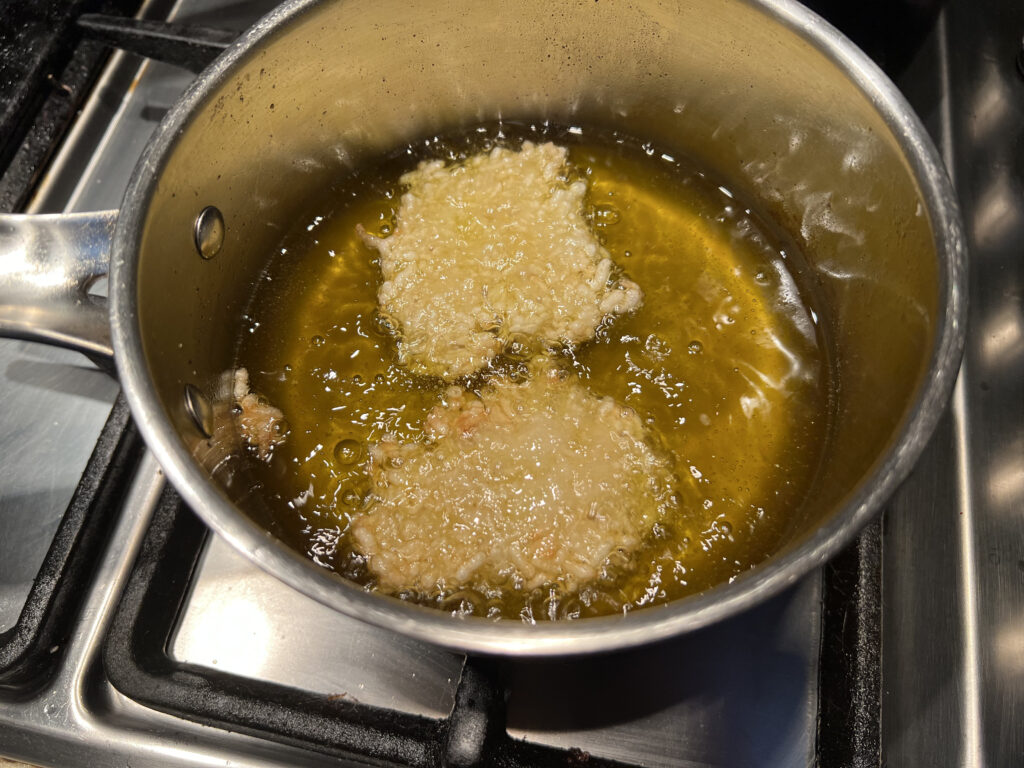
I heated just enough olive oil in a small saucepan to coat the Thai crispy rice cracker. I find that a small saucepan is easier to use than a frying pan because it needs less oil.
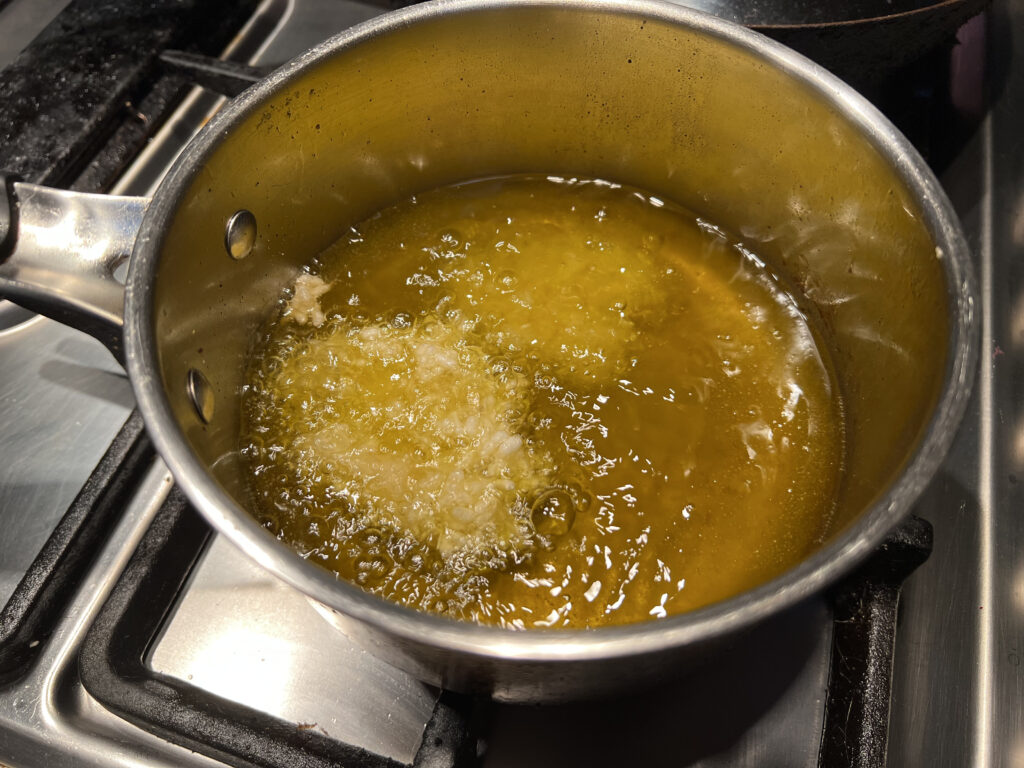
In the picture below, the Thai Crispy Rice Crackers will float to the top and brown on all sides; they just need a short period of high heat to cook.
Tip:
On the 3rd day they will be stale, so heat in an air fryer for 4 minutes at 200℃/392℉ and they will become crispy again.
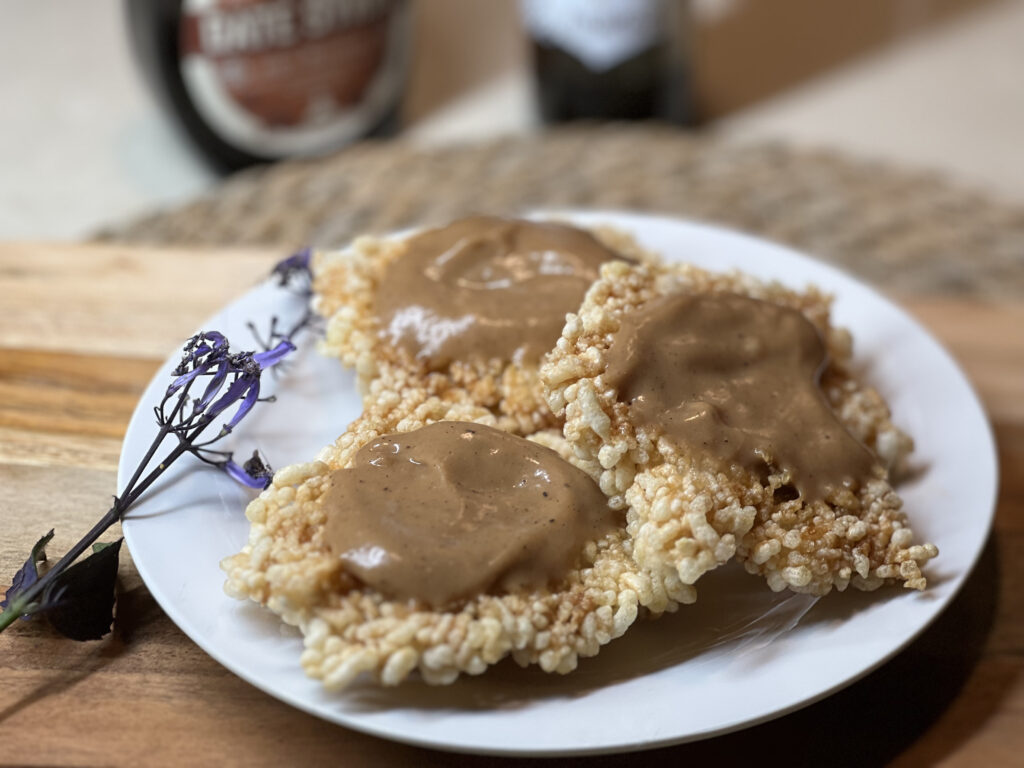
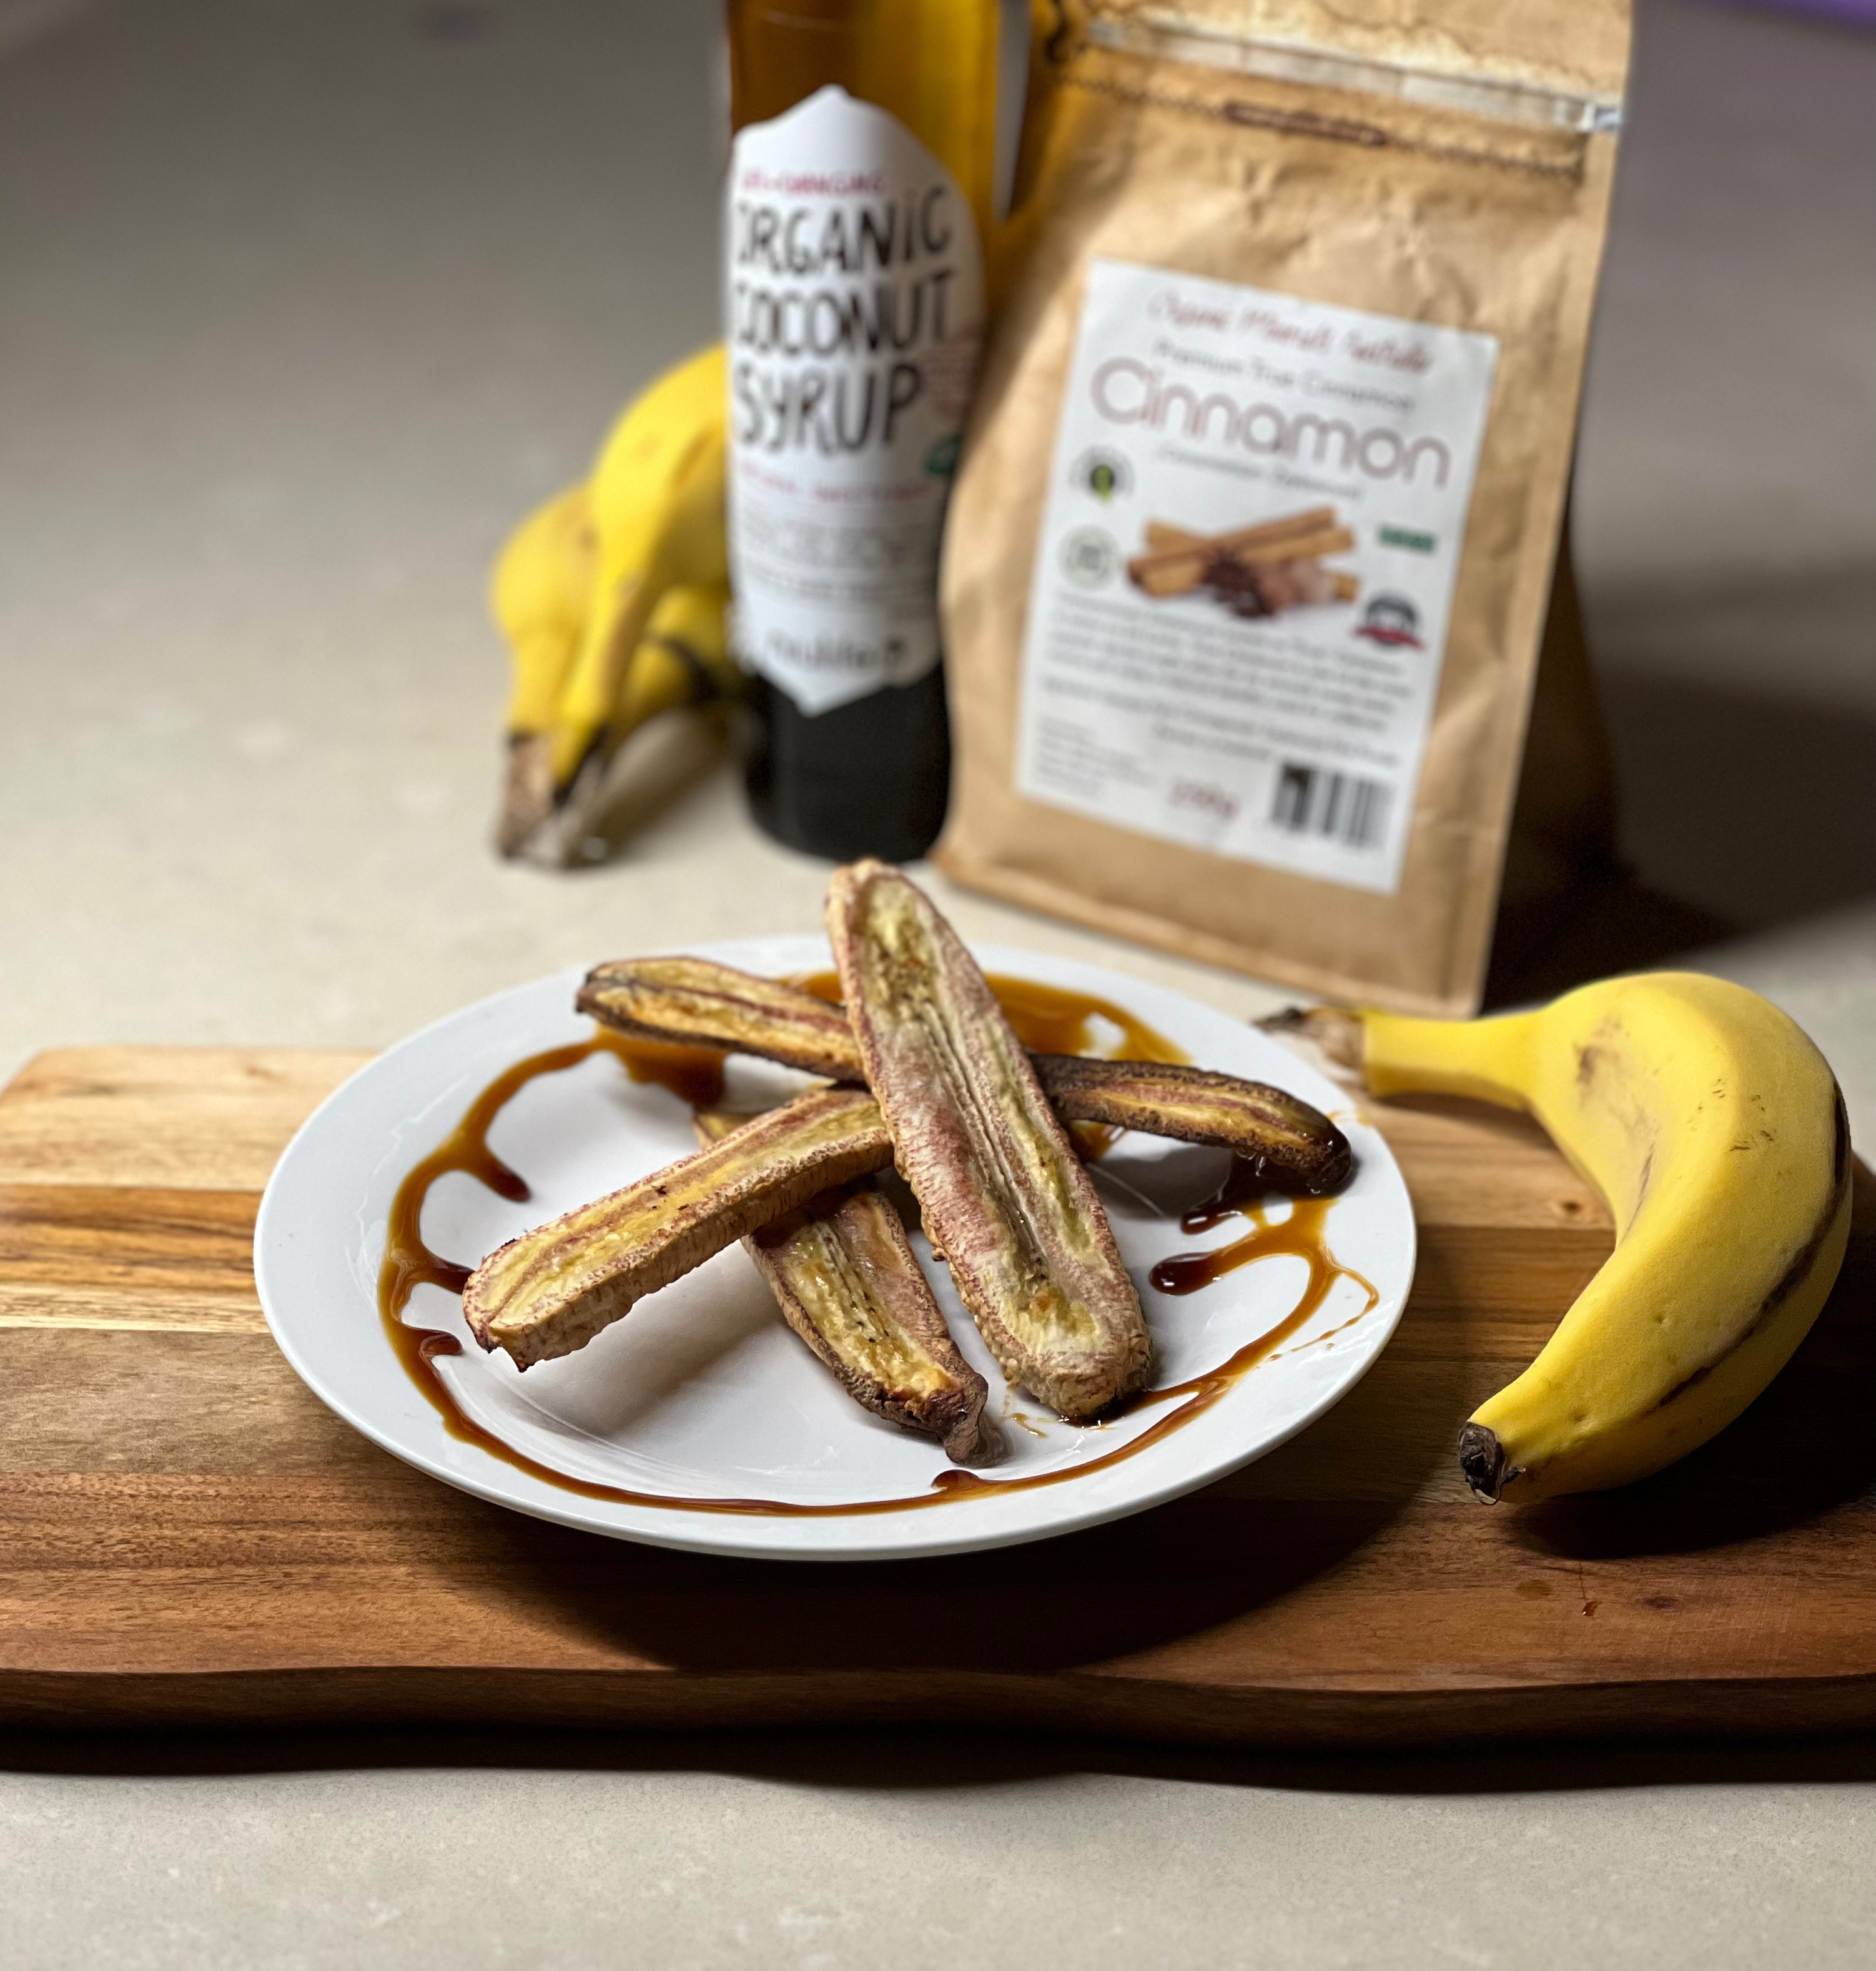
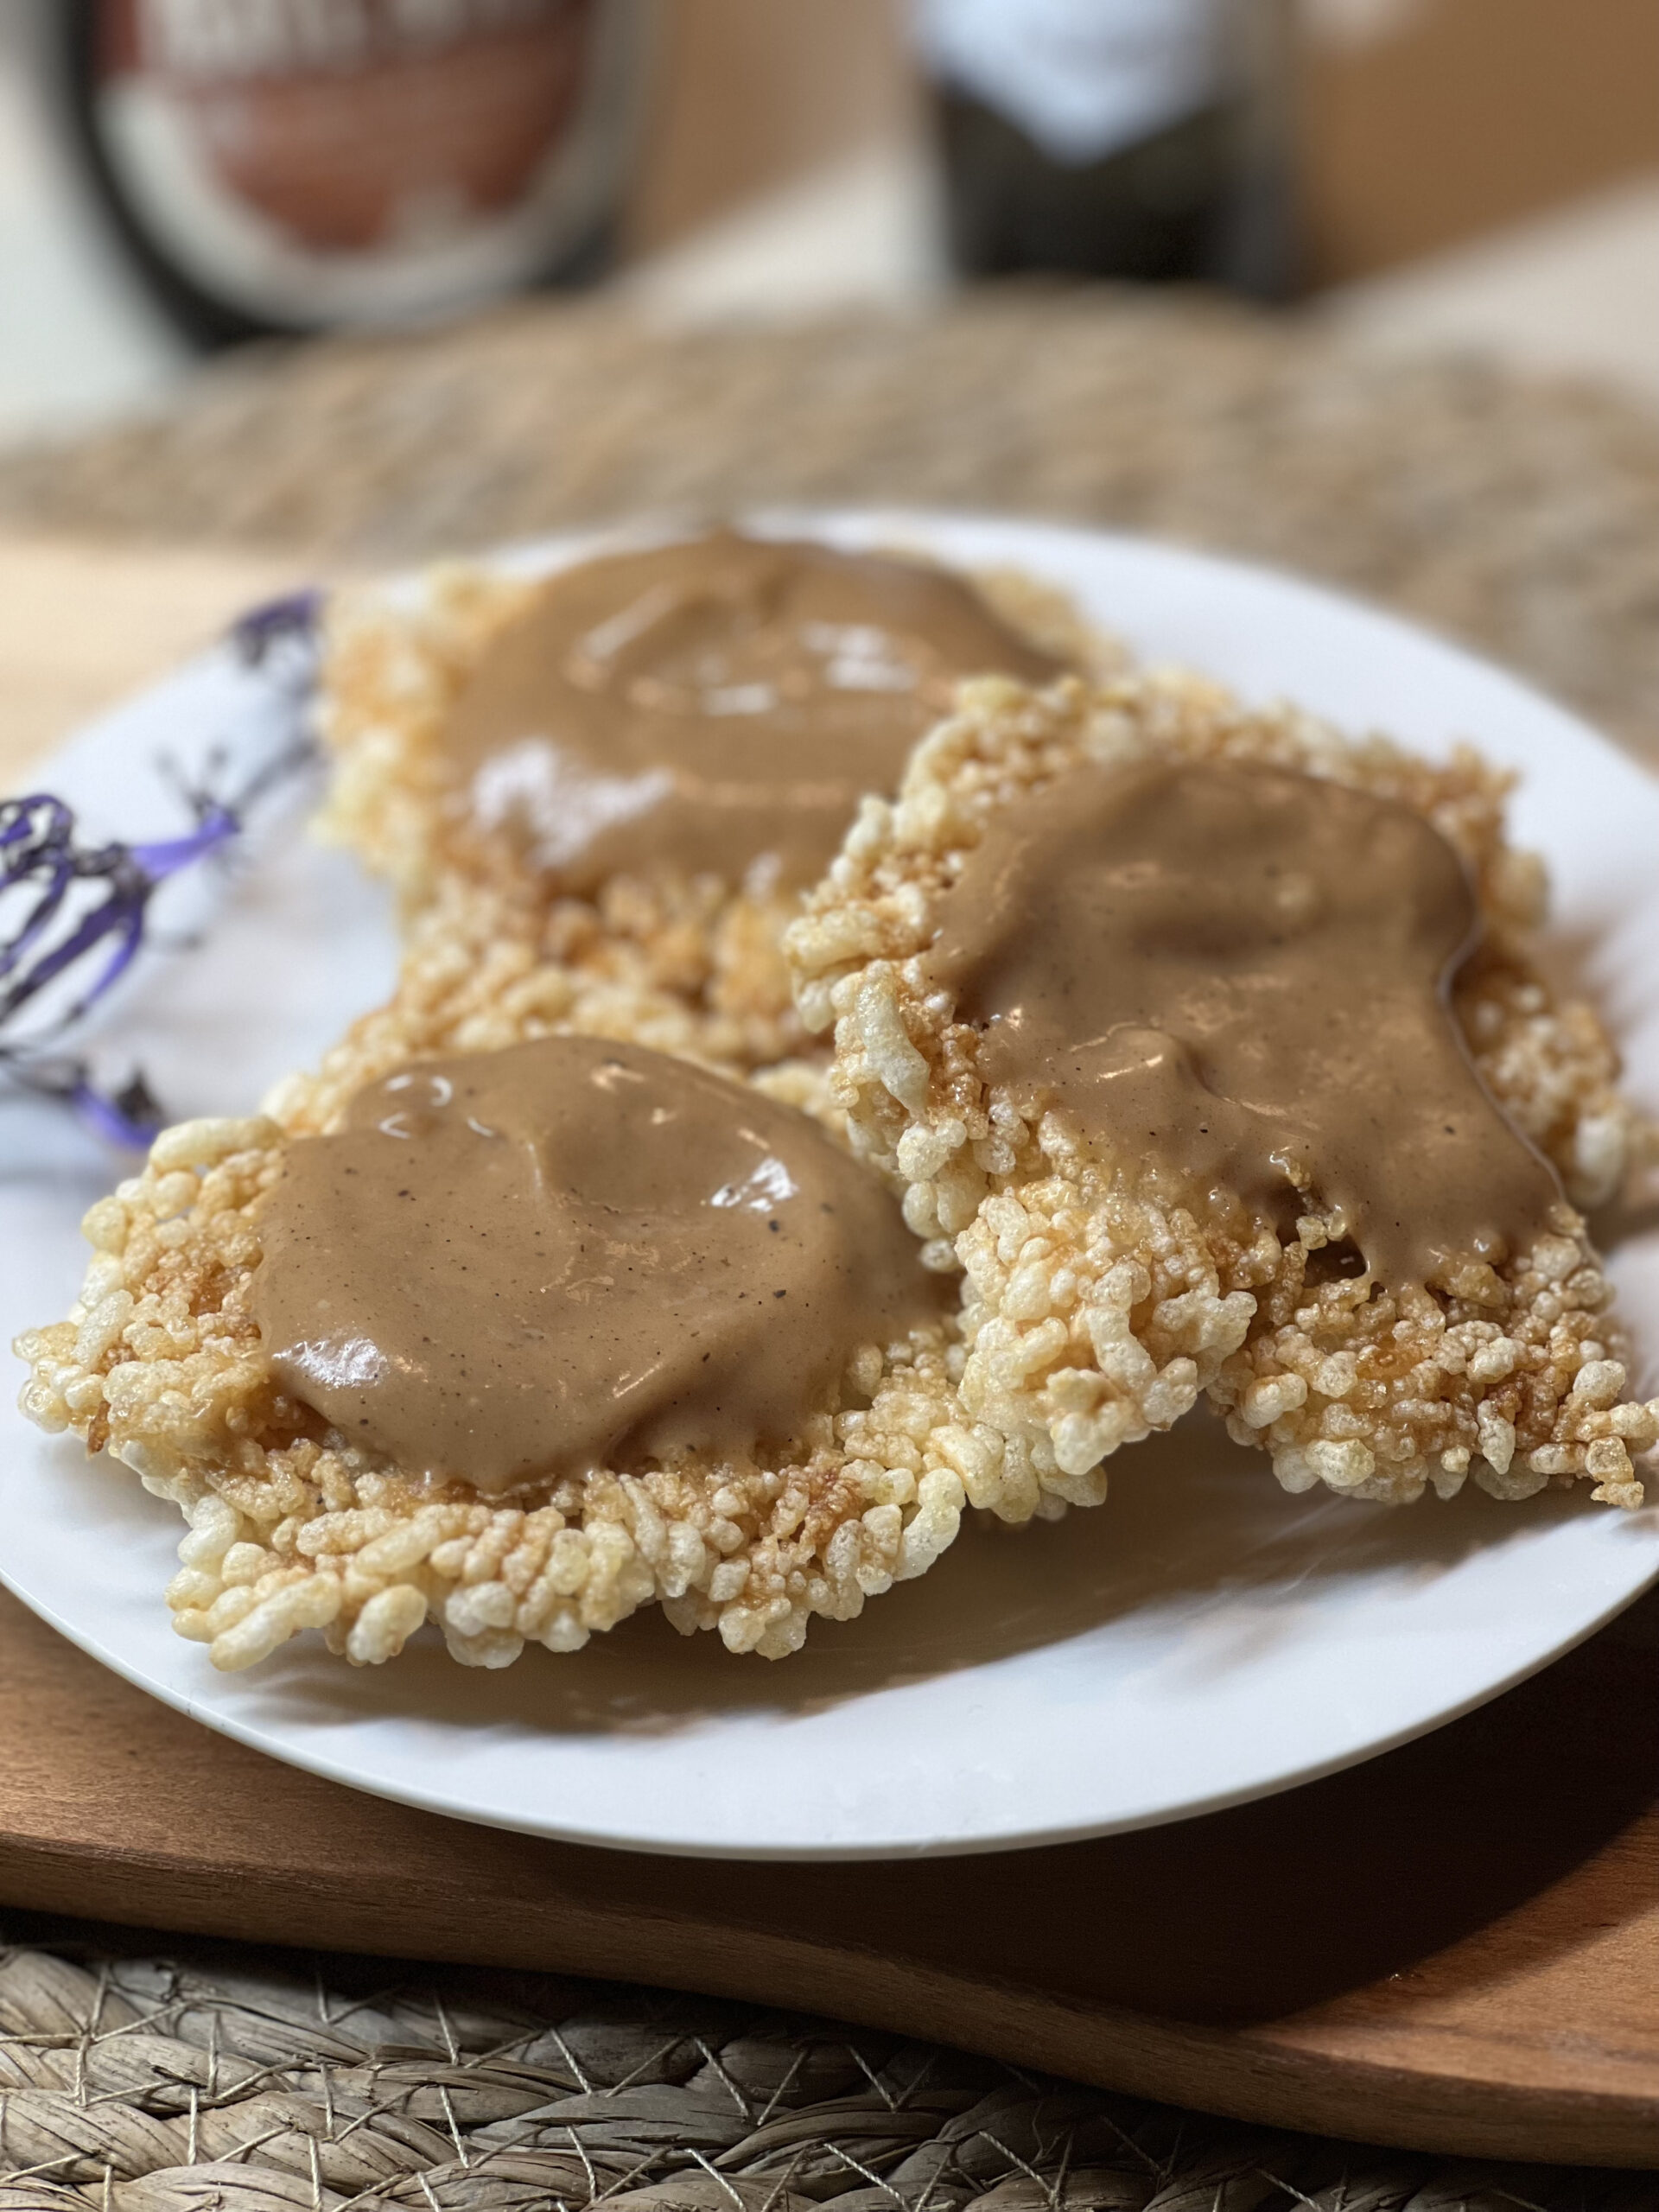
They appear fried and covered in chocolate sauce in the picture below.
Please let me know in the comments section if you try this dish.


FOLLOW ME on Facebook, Instagram, Pinterest and Twitter to see more delicious food and get all the latest updates.
Equipment
Ingredients
- 1 cup Glutinous Rice
- Water enough to cover the rice
- 1 tbsp Pineapple Juice
- 1 dash Date Syrup
Chocolate Sauce
- 1 tsp Roasted Carob Powder
- ½ tsp Coconut Syrup
- ½ tsp Date Syrup
- ½ tsp Cinnamon
- ½ tsp Vanilla Bean Powder
- 1 tbsp Arrowroot Flour
- 1 tbsp Tapioca Flour
- ¼ cup Coconut Milk
- 1 tbsp Hot Water
Instructions
- Put the rice in a stainless steel mixing bowl and cover with water, soak overnight. The rice does expand as it soaks up some of the water.
- The following day, fill the bottom of the saucepan with the water that the rice had been soaking in.
- Rice should be placed in a strainer that will prevent it from falling through.
- Place the strainer over the saucepan at this time.
- With the saucepan lid on, steam for 30 minutes.
- Place the freshly cooked sticky rice onto baking tray. and spread around, use a spoon to move the rice around, don't use your hands because it will be too hot to touch. When it is warm enough to move, place the rice in a stainless steel mixing bowl and add the pineapple juice and date syrup until well combined.
- Once it is all combined place a baking paper sheet on a baking tray and then place the sticky rice on the baking paper and spread out, now use a cookie cutter to make the round shape, you could use any cookie cutter shaper it doesn't have to be round.
- Once everything is incorporated, lay out the sticky rice on a baking sheet lined with parchment paper, and then use a cookie cutter to form it into a circle; the cookie cutter doesn't have to be circular.
- A round sliced piece should remain intact in your hand when you pick it up and not break apart. Because you will be subsequently frying them, don't make them too thick and don't push too hard when cutting the shape.
- Place the baking tray in the oven at 100℃/212℉ for 10 minutes then turn off the oven and leave the door slightly open for an hour. Repeat this mixture 3 times to dry out the mixture and get it ready for frying.
Chocolate Sauce
- Put the carob powder, date syrup and coconut syrup into a bowl with the hot water and mix.
- Once that has formed a smooth chocolate liquid add the rest of the ingredients.
- Mix them all together and to thicken, you need to heat the sauce up.
- Best method is to use a coffee/milk steamer to heat it up until it thickens.
- Otherwise use a pot on the stove or heat in the microwave for 30 seconds at a time.
 Plantain Bun (AIP,Paleo,Vegan,Vegetarian,GF,DF)
Leave a Reply