Propagation is creating new plants from an existing plants by way of cuttings, layering, division or grafting. It’s a good way to save money on buying multiples of the same plant if you have the time and patience. I save more money by also reusing all of my pots and by composting, this way I can generate enough soil to use for my propagation. I enjoy taking cuttings and potting up new ones, all it takes is time to water them and make sure they are getting enough sun each day.
The easiest plants to propagate or divide are any type of Lavender, Clivia, Hellebores, Agapanthus, Kangaroo Paw, Daisies, Cordyline, Succulents, Geraniums, Hibiscus, Basil, Rosemary, Thyme, Oregano, Mint, Coriander, Azaleas, Fuchsias, Ferns and Roses.
Harder plants to propagate are Orchids, Cauliflower, Venus Flytrap, Celery, Onions, Wasabi, Melons. Moth Orchid, Croton, Tradescantia, Elephant’s Ear, Fiddle-Leaf Fig Tree, Bird’s Nest Fern, Boston Fern and many more…
You can also propagate fruiting trees or even grow them from seeds, but these ones can take time to grow and fruit.
Gardening Gloves
Gardening gloves are essential when you are pruning, propagating or cleaning out weeds, especially when there are blackberries involved or roses. It’s best to choose gloves that protect your hands and arms from thorns and cuts, I recommend these ones for men from Amazon and these ones for women from Amazon.
What Plant Takes The Longest To Grow?
- Persimmon Trees (3-4 years)
- Apricot Trees (2-5 years) …
- Apple Trees (2-5 years) …
- Sour Cherry Trees (3-5 years) …
- Plum Trees (3-6 years) …
- Pear Trees (4-6 years) …
- Sweet Cherry Trees (4-7 years) …
- Pawpaw Trees (5-7 years) …
What is the hardest plant to care for?
1. Fiddle-leaf fig. While the fiddle-leaf fig may be trending on Instagram, it also leads the list of the hardest houseplants to keep alive, with 61% of people failing to do so.
What plant is the hardest to grow?
Wasabi: the hardest plant to grow in the world
- Cultivation: it’s grown unlike any other plant. …
- Access: one wasabi farmer said it took 6 years simply to get access to viable seeds.
- Temperament: too much humidity or the wrong nutrient composition can wipe out an entire crop of wasabi.
Different ways of Propagation….
Cutting
This is one of the easiest methods to propagate plants by simply cutting about 10 inches (20cm) from the end of the plant and usually where it is still green and not woody. Then you either place the cutting in water or soil for 4-8 weeks and wait for roots to establish. Some plants also require the end of the cutting to be dipped into a rooting hormone before placing in soil.
This is how I propagate Mona Lavender. This lavender is really easy to propagate, I take a cutting 10 inches (20cm) long anytime of the year and it will grow roots in a couple of weeks. I have taken cuttings when it is flowering and put in a vase inside with water and in a couple of weeks it has roots ready to be planted in a pot or in the garden.
Layering
On an existing plant you can fold over a branch to the ground or pot as long as it is touching the soil and the end part has to be out and facing upward, then place a rock over the part of the plant that is touching the soil. Leave the rock on for a month until it gets roots. Cut it away from the main tree and you have another plant ready for the garden.
Division
This is a suitable technique for perennials (plants that live for more than two years) and ones that produce suckers, stolons, bulbs, tubers or rhizomes. It involves digging up the plant and dividing the plants roots by secateurs or a shovel and moving it to an already prepared site. This helps the plant to rejuvenate and reduce water and nutrient competition.
Grafting
This method is a little more advanced, it involves taking a twig from one plant and then joining in onto the stem of another plant so they become one plant. Use some tape to hold the graft onto the plant. A second plant should appear where the graft is; both plant’s tissues can grow together. This is often done with trees and shrubs to combine the best characteristics of the two plants. The wound needs to be protected until it heals to avoid pests and diseases entering the graft. Make sure to wash your hands and tools thoroughly so as not to transfer any diseases during this process.
In order to be a successful graft or bud, the cambium layer of cells located on both plant parts must align and grow together. This cambium region is between the xylem and phloem and is where all new plant growth occurs.
Budding
In this method, a cut is made in the rootstock and a single bud with little or no wood is inserted into it in such a way that they unite and grow as a new plant.
Tissue Culture
This is the most recent and advanced technique in which plant tissues are grown in media under controlled and sterile conditions/environments. It is extensively used for commercial purposes to produce clones of plants or mass produce plants.
Seeds
You can also propagate from an existing plant dropping seeds, collect the seeds and plant in a pot with good soil and water daily with at least 6 hours of sun.
How I propagate plants….
Almost every plant that I have bought from a plant store or market have died and not lasted long on my property. I think it is mostly due to the plants coming out of green houses or sheltered spots on a large scale commercial site and the shock of going out into the open that causes them to die. I have tried many methods to stop them dying like leaving them in their pots to get used to my conditions or placing them straight into the soil and making sure they are watered enough but still they die.
The only plants that seem to do well are Lavenders and existing plants around the area. So why continue to fight with nature and just propagate the existing plants that are doing well in my garden. So that’s what I did!

Shown above is all the plants I have successfully propagated and all are now doing well in my garden. It’s best to find a sheltered position somewhere on your property where they are out of strong winds and heavy rain, and get morning sun with not too much direct sun light. Shown above is Lavender, creeping Daisy, Rosemary, Oregano, Mona Lavender, Snowball Viburnum, Camellia, and Hydrangea.
I compost all our fruit and vegetables which turns into the soil for plants, I use my composted soil for my cuttings. I fill the pots right to the top and put a couple of cuttings in each pot, depending on how big or small they are in size. Cuttings need to be watered daily and on hot days twice daily.
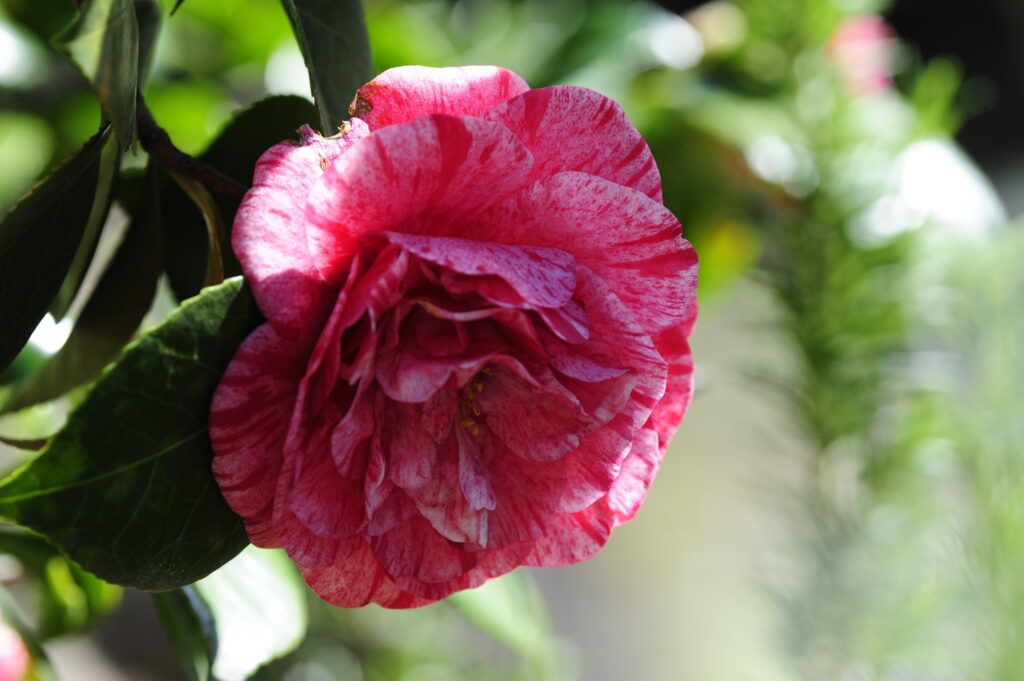
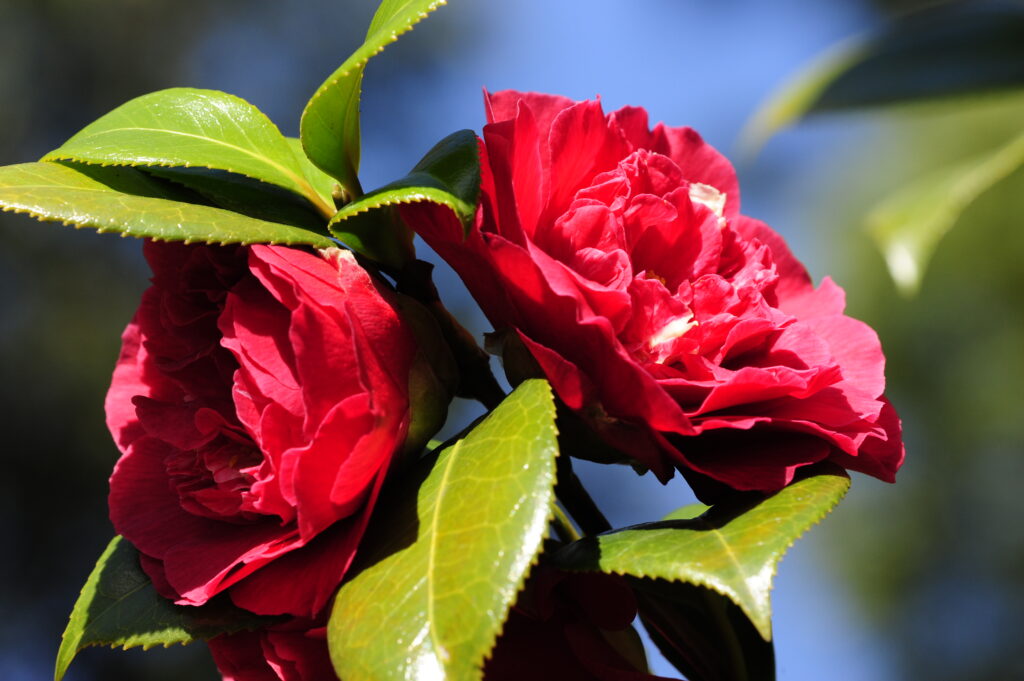
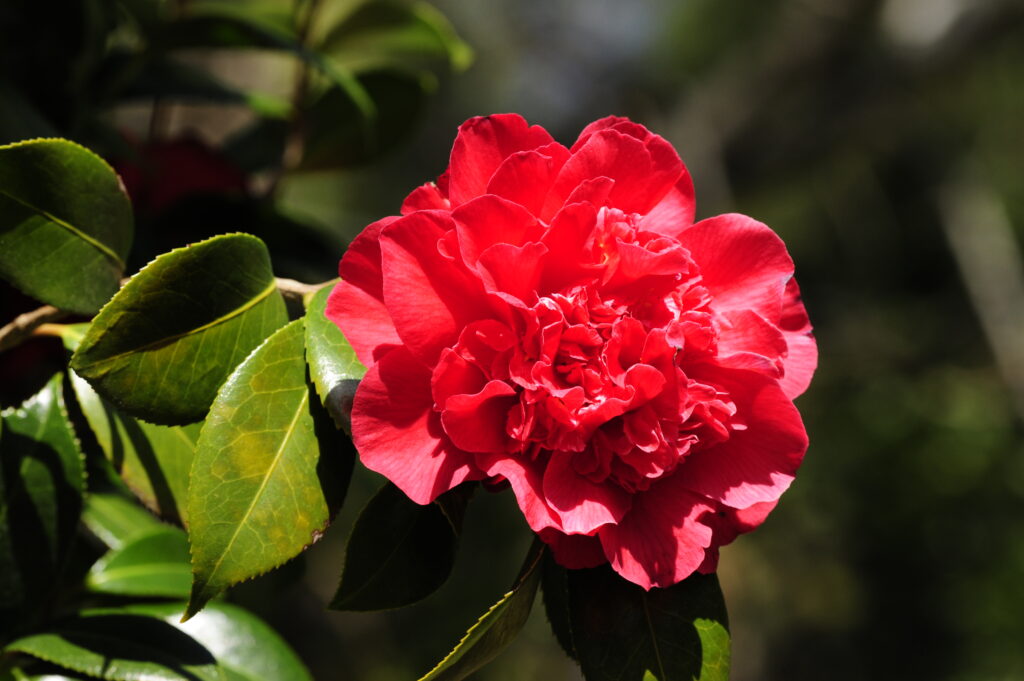
How to propagate Camellia
Camellias may be propagated by rooting stem cuttings in much the same manner as one would do for other broadleaf shrubs, such as azaleas or roses. Taking cuttings is the fastest method of propagation.
Begin by preparing potting medium with one part potting soil or compost, and one part perlite or coarse silica sand.
You can either start individual cuttings in their own containers or fit several into a larger pot, providing you space them at least two inches apart. Containers should be four to six inches deep to allow space for the roots to develop.
Cut a branch from the existing camellia that shows new growth, which is typically present in early spring. New growth roots more easily than cuttings taken from dormant plants.
Separate the side branches from the main branch by cutting them apart between the main branch and the first leaf node. You should end up with several small branches of about four inches in length that have at least a few leaves each.
Remove the lower leaves so only the two leaves at the end of the stem remain. Dip the cut end into rooting hormone powder, and push the cuttings into the planting medium two to three inches deep.
There is no need to compact the planting medium by pressing as you would with a seed or transplanted seedling, as looser soil is better for rooting purposes. Mist with water to dampen.
Place the potted cuttings in a greenhouse or in a clear container and store in a warm place that receives indirect sunlight. They just need a warm, humid place that is sheltered and has good sunlight, those are good alternatives.
You can also wrap each cutting and individual pot in a plastic bag, keeping the bag sealed to keep in warmth and humidity.
Check for moisture daily and mist with water if the planting medium feels dry. Cuttings that dry out will most likely not take root.
It can take two to three months for roots to develop. Watch for signs of the first bud developing on each cutting as this is a sign that the plants are becoming established.
It’s possible that some cuttings may not develop roots and that could be for a number of reasons out of your control. When buds have formed, gently remove plants from the pot and transplant into larger individual pots using potting mix.
Growth is a good indicator that the cuttings are becoming established, meaning they’re rooting and taking up water and nutrients on their own.
When new sets of leaves are forming and the roots have begun to extend to the edge of the container, plants can be transplanted a final time to their permanent home.
How to propagate Rhododendron
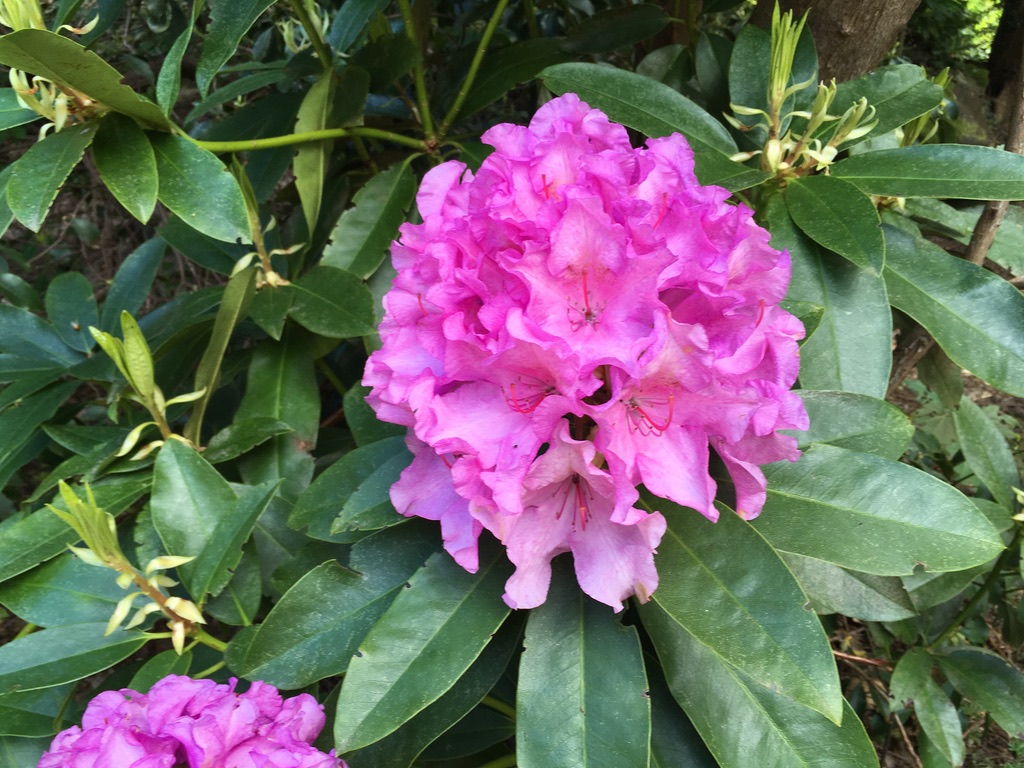
Propagating Rhododendrons is pretty easy, most can be propagated using the cutting method and dipping the end where you want roots to form in a rooting hormone before placing in soil.
Cuttings are usually taken in the early fall from new growth that is just beginning to harden off. The soil should be suitable for Rhododendron which is usually a little more acidic, like azaleas and camellias.
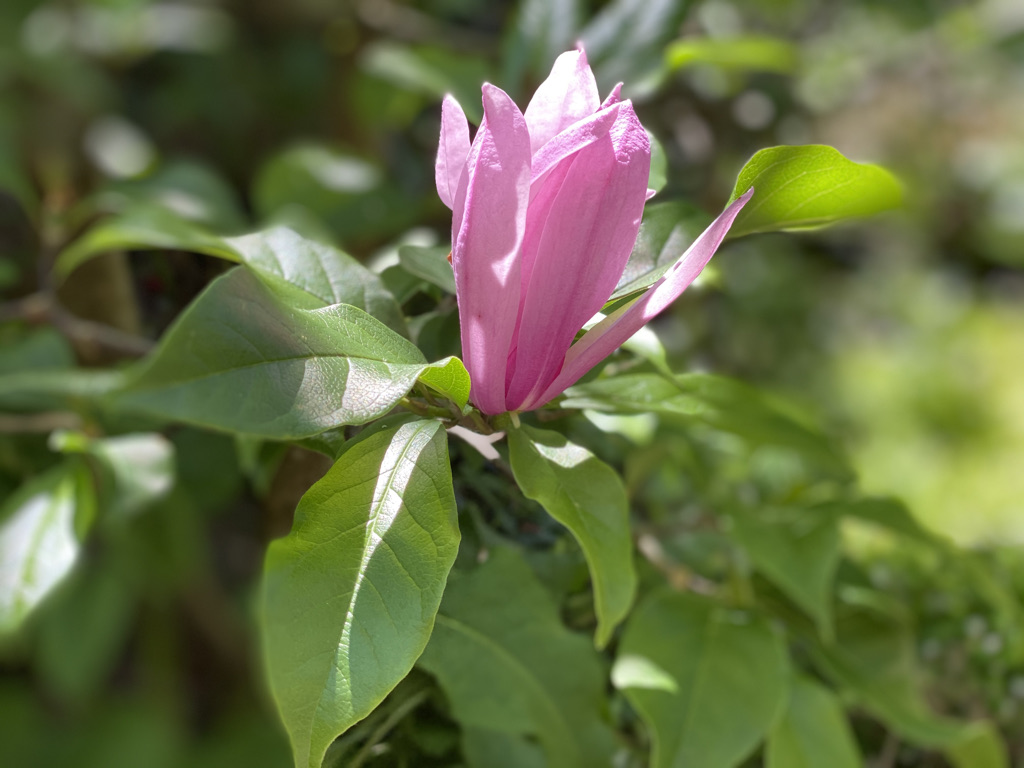
How to propagate a Magnolia
It is better to take cuttings from magnolia in the spring while there is not yet a lot of heat. It is better to have cloudy weather. Also, water the magnolia two days before.
Water the cuttings so that the soil is thoroughly moist. Take the cuttings into the greenhouse or make a sort of transparent dome over them. This is to get more humidity.
The place where the cuttings will be rooted should be in full shade. Also, ventilate the greenhouse from time to time or remove the dome to avoid fungal diseases. For more information check
There are several ways to propagate magnolia trees. You can do that by seed, clonal propagation by softwood cuttings, air layering, grafting in winter (bench grafting), grafting in spring (whip grafting, chip budding) or chip budding in summer.
Clonal propagation by softwood cuttings
Take 6- to 8-inch cuttings from the newly developing shoots. To prevent drying off, place them in a jar partially filled with water as soon as you cut them off.
Prepare the cuttings for rooting by removing all the leaves except for the two at the very tip of the cuttings. If the leaves are too large, cut part of the leaf.
Prepare the rooting bed using a 10- to12-inch deep plastic container, which is deep enough to accommodate the cuttings. Drill drainage holes in the bottom of the plastic container and fill them with rooting medium. The rooting medium could be a mixture of one-third coarse sand, one-third peat and one-third vermiculate, or a peat and vermiculate mixture, or simply coarse sand.
Using a pencil or stick, make holes in the medium that will be wide enough to receive the cuttings. Dip the cuttings into the rooting hormone Indol-3-buteric acid that comes under several trade names (Rootone®, TakeRoot®, FastRoot®, Dip&Grow®, etc.). Place the cuttings into the rooting medium with the necessary spacing to allow for sufficient light interception by the leaves.
After setting the cuttings in the medium, irrigate and cover with a clear top or plastic to maintain the high-humidity environment. Keep them away from direct sunlight. It will take a few weeks for the cuttings to produce strong enough root systems to be transplanted into a larger container or directly in the garden.

How to propagate Azalea
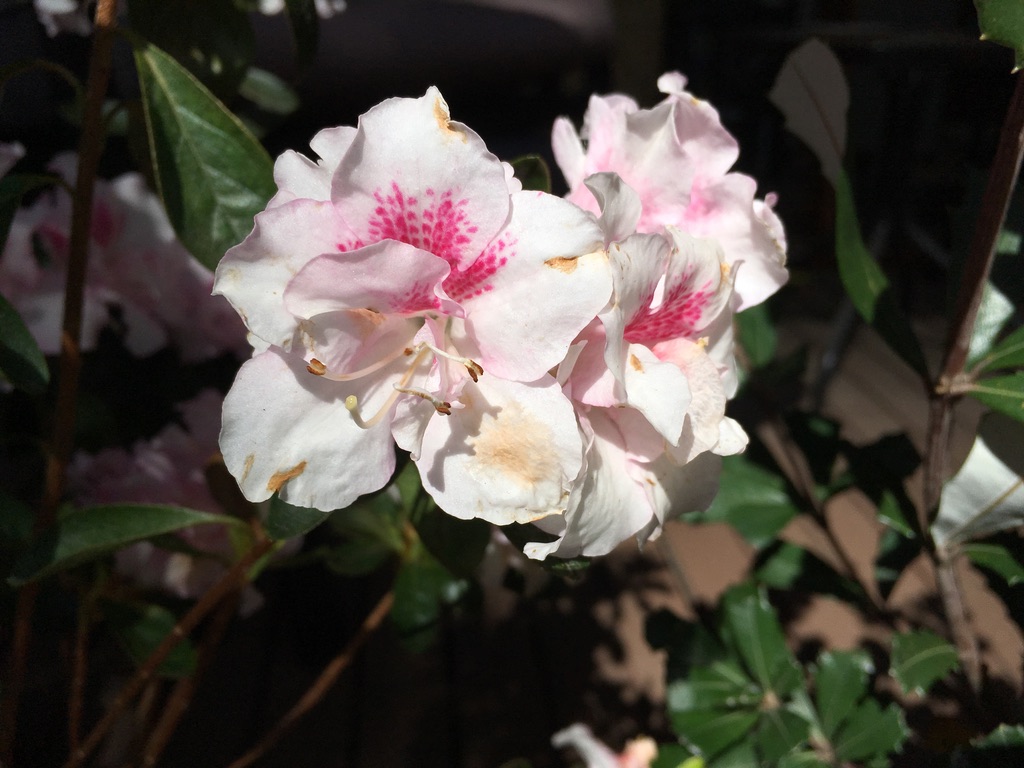
Rooting evergreen azalea stem cuttings is not difficult if you use semi-hardened cuttings. That means the wood you take should be somewhere between soft and brittle. It should bend, but not too easily. This occurs after spring growth when the leaves are mature. When you plan to grow azalea plants from cuttings, select parent plants that are healthy and vigorous. Irrigate the chosen parent plants a few days before you take the cuttings to be sure they are not water stressed. Go out to the azalea parent plant in the early morning with clean, sterilized pruners to get your azalea stem cuttings. Clip off tips of branches, making each cutting about 5 inches (13 cm.) long.
You will need pot’s that have enough drainage holes in them,
Use any well-draining rooting medium to start propagating azalea cuttings. One good alternative is an equal mix of peat and perlite. Wet the mixture, then fill the containers. Trim the cut ends of the azalea stem cuttings just below a point of leaf attachment. Remove all leaves from the bottom third of the cutting, and remove all flower buds. Dip the stem end of each cutting in a rooting hormone. Insert the lower one-third of each cutting into the medium. Water the cuttings gently. Slice off the upper part of a clear plastic drink bottle and place it over each cutting to hold in moisture. At this stage, you have started propagating azalea cuttings. Place all of the containers on a tray and set the tray in bright, indirect light. Check the medium frequently and when it is dry, add water. Within two months, the azalea stem cuttings grow roots. After eight weeks, tug gently on each cutting, feeling for resistance. Once rooting has started, remove the plastic bottle tops.
f you feel resistance, roots are developing and you can start exposing the cuttings to a few hours of morning sun. In late summer, separate the plants and put each in its own pot. Keep them in a protected area until the following spring when they can be planted outdoors.
How to propagate a Salvia
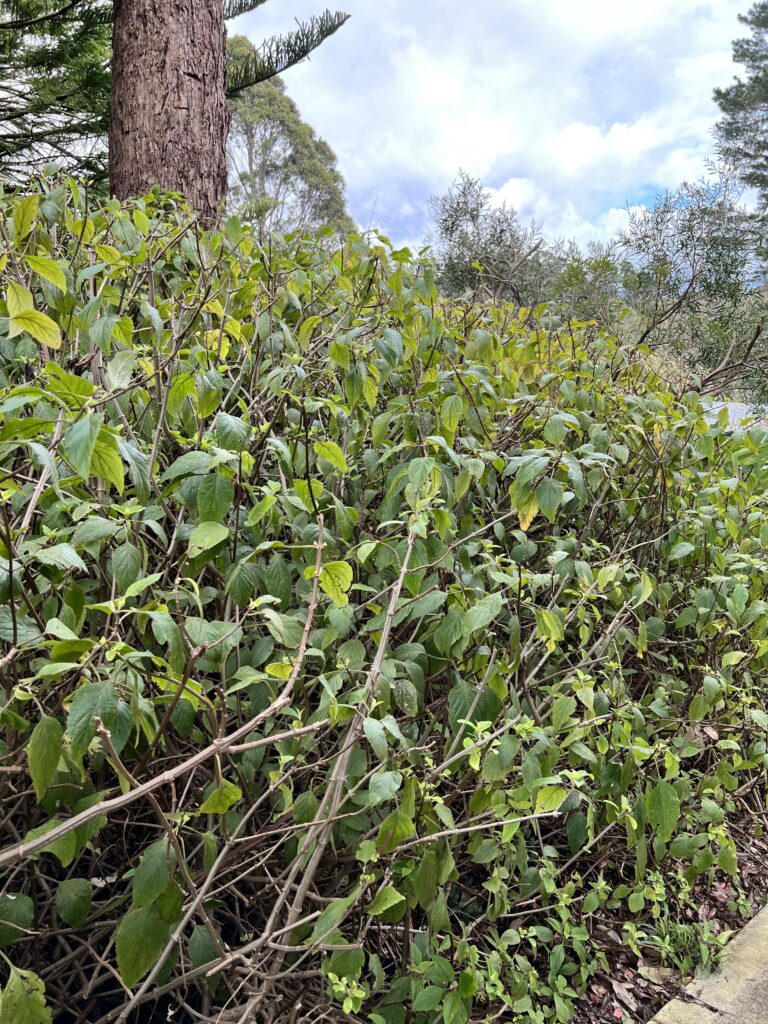
Salvia are easy to propagate, just take a 20cm long cutting and place in a vase of water or in a pot with soil. Roots with form in a couple of weeks and then they are ready to plant in the garden.
Salvia cuttings can be taken in April, August or September. This gives you lots of new plants that you can plant in your garden or give away.
Best times to take cuttings for large leaf varieties, are generally spring, autumn and winter as they don’t transpire as much moisture when it’s cool.
Spring and early summer are the best times for most other varieties, especially the herbaceous Salvias ( before they run up to flower).
Small leaved Salvias are best taken in Spring and Summer or when the sap is “running” If taken in the cooler months, without the correct bottom heat or perlite mix, these small leaf varieties just sit and sulk, so the warmer months are more suitable for these types of Salvias.
Tip Cuttings: Tip Cuttings are the young new growth, where stems have not hardened too much (stem flexible without snapping).
Take a cutting approx 10-12cm from the tip, strip the bottom leaves, remove any flower buds and remove the growing tip. This will encourage new shoots, encouraging the plant to become bushy. On large leaf varieties, cut the leaf in half ( again so they don’t transpire too much). Large leaves take up too much space and crowd and shade smaller cuttings, so cutting in half frees up space and light.
Cut through or immediately below the node. This is where you’ll find the growing cells. This is very important in all of the larger growing Salvias as they have hollow stems. If taken internodely, they won’t strike. If the Salvia has long spaces between the nodes, then you’ll need a deeper pot. Some of the small leaved varieties can be cut between the nodes as their stems are still green enough at this stage.
Once you’ve taken your cuttings, put them in water while you finish preparing all the rest of your cuttings ( this keeps them fresh). When ready, dip the cutting into cutting gel/ powder which helps to promote new root growth.
The best cutting mix should be a mix of perlite/ vermiculite and potting soil approx a ratio of 70/30 or 80/20. This will be a dirty mix. The perlite is a mineral and helps to keep the mix aerated. This is really important in the cooler months when cuttings can easily rot. Most cuttings root a lot easier and a lot faster with the use of Perlite.
You can place 1 cutting in a small pot or multiple cuttings in a wider squat pot if you don’t have the room for multiple pots. By cramming lots of cuttings into 1 pot, they all seem to create a micro climate which helps and protects each other.
Place pots in a sheltered position out of the wind or direct sun – this allows them to settle. After a few days, place the small leaved varieties out in a sunny position on to some soil in the garden and keep the large leaved varieties in the shade, again placing them on to some soil. If there is a lack of space in the garden, then place some soil in the base of the tray – Placing the pot of cuttings onto soil seems to help pull the roots down to the bottom of the pot. When roots are showing out of the pot, or the pot is hard to pick up, then it’s time to pot up the plants. Gently tape them out, so you can tease the roots apart gently and carefully. Use a good aerated potting mix which will hold the water in summer but not drown the plant in winter. Pot up individually and feed with a osmocote type of fertiliser.
The cutting mix can be reused time and time again without any contamination or problems to the cuttings.
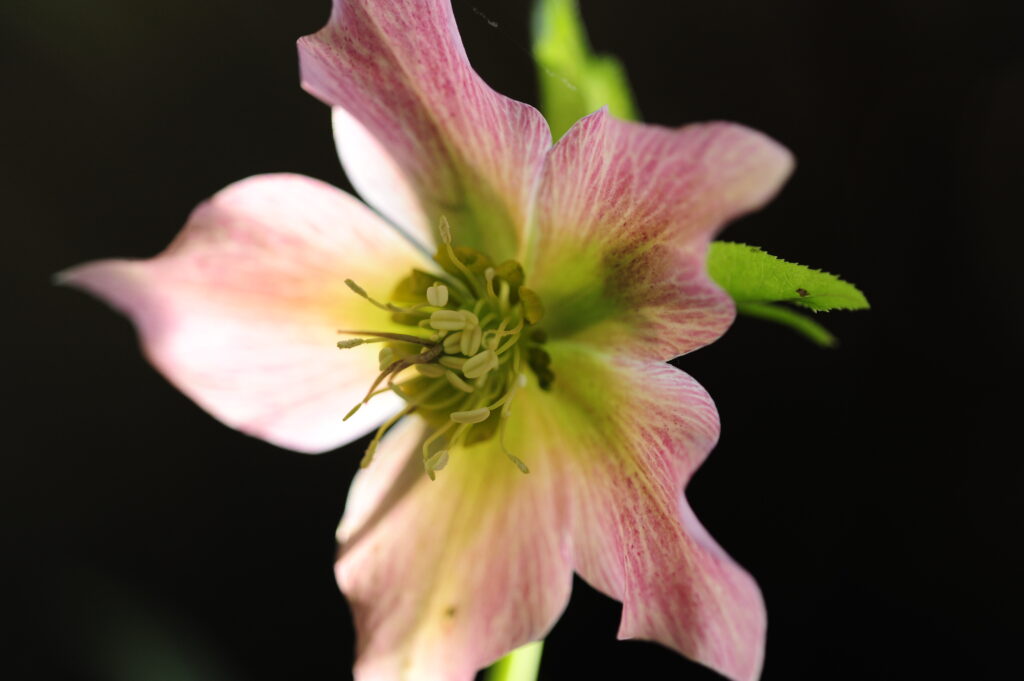
How to propagate a Hellebore
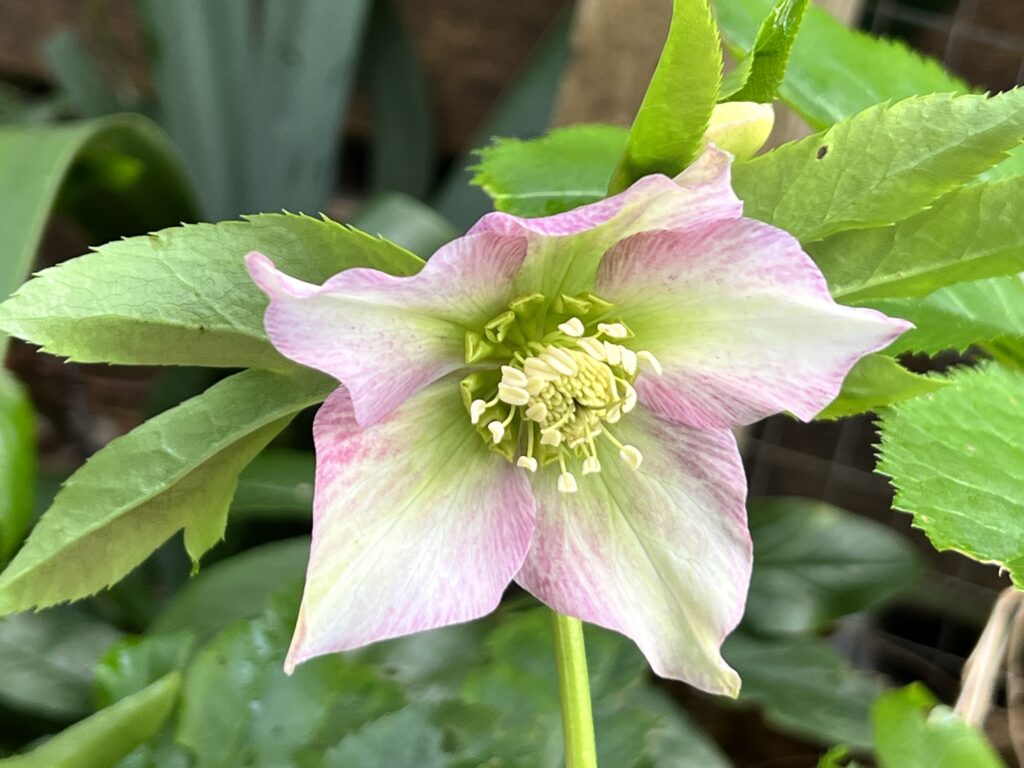
For a Hellebore I use the Division method to propagate.
With this method, an entire plant is dug up. Cuts are made down through the thick rhizome, separating the plant into individual “divisions” that may then be planted elsewhere in your garden
How to propagate Hydrangea
The best time to take hydrangea cuttings is in late-summer. These cuttings are semi-ripe, which means they are from the current season’s growth but are old enough to have a woody base, but they are still soft at the tip. The woody base prevents the cuttings from rotting when inserted into compost.
How long do hydrangea cuttings take to root in water?
2-3 weeks
Overwatering will cause cuttings to rot. Expect cuttings to begin to form roots in 2-3 weeks, depending on temperature (faster in warm weather) and humidity. Some cuttings root in as little as one week.
The first step for how to root cuttings from hydrangea is to select a stem for cutting. In early fall, choose a stem for hydrangea propagation that is at least 6 inches (15 cm.) long, has no flower, and is new growth. A new growth stem will be a lighter green than old growth. Also be aware that if you live in a colder climate where the hydrangea dies back to the ground, the whole shrub may consist of new growth
Once you have selected a stem to propagate the hydrangea, take a sharp pair of shears and cut the stem off just below a leaf node. A leaf node is where a set of leaves will be growing. The hydrangea cutting should be at least 4 inches (10 cm.) long and should contain at least one additional set of leaves above the selected leaf node. Snip the cutting from the stem.
Next, strip all but the topmost set of leaves from the cutting. The cutting should have only two leaves left. Cut the two remaining leaves in half crosswise (not lengthwise). If available, dip the end of the cutting in rooting hormone. While rooting hormone will increase the chances of successfully propagating hydrangeas, you can still propagate hydrangea shrubs without it.
Now, stick the cutting into damp potting soil. Cover the pot with a plastic bag, making sure that the bag does not touch the leaves of the hydrangea cutting. Place the pot in a sheltered location out of direct sunlight. Check the hydrangea cutting every few days to make sure the soil is still damp. In about two to four weeks, the cutting will be rooted and your hydrangea propagation will be complete. That is all you need to know about how to propagate hydrangeas. With a little effort and care, you can start propagating hydrangeas for your yard or for friends and family.

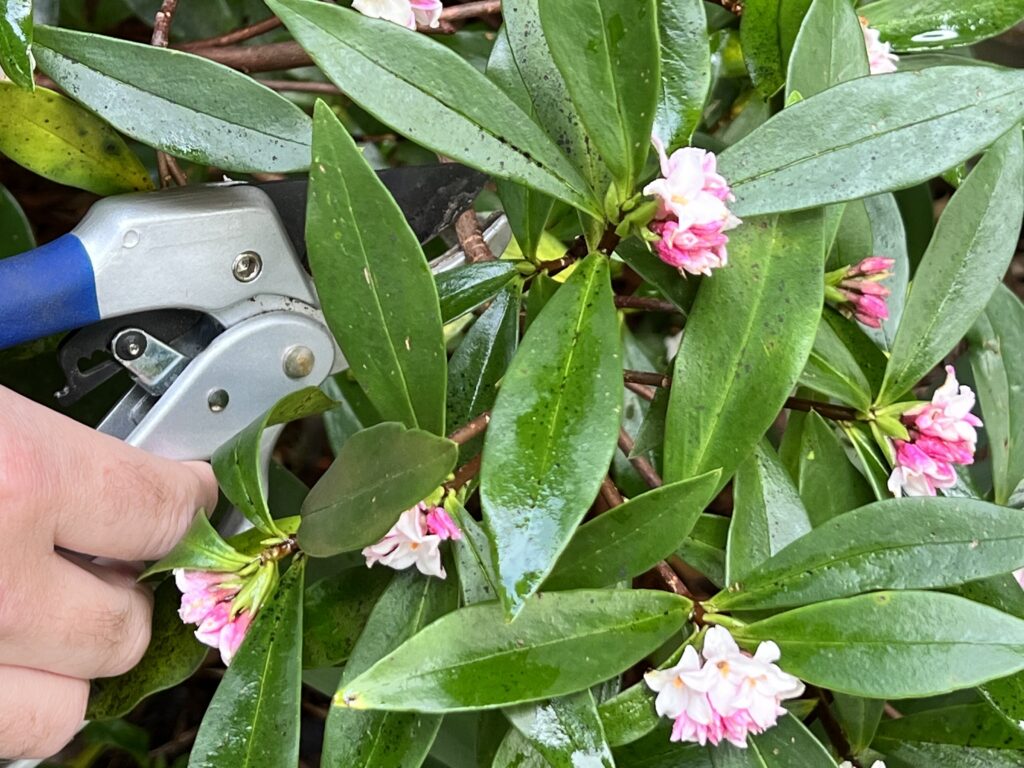
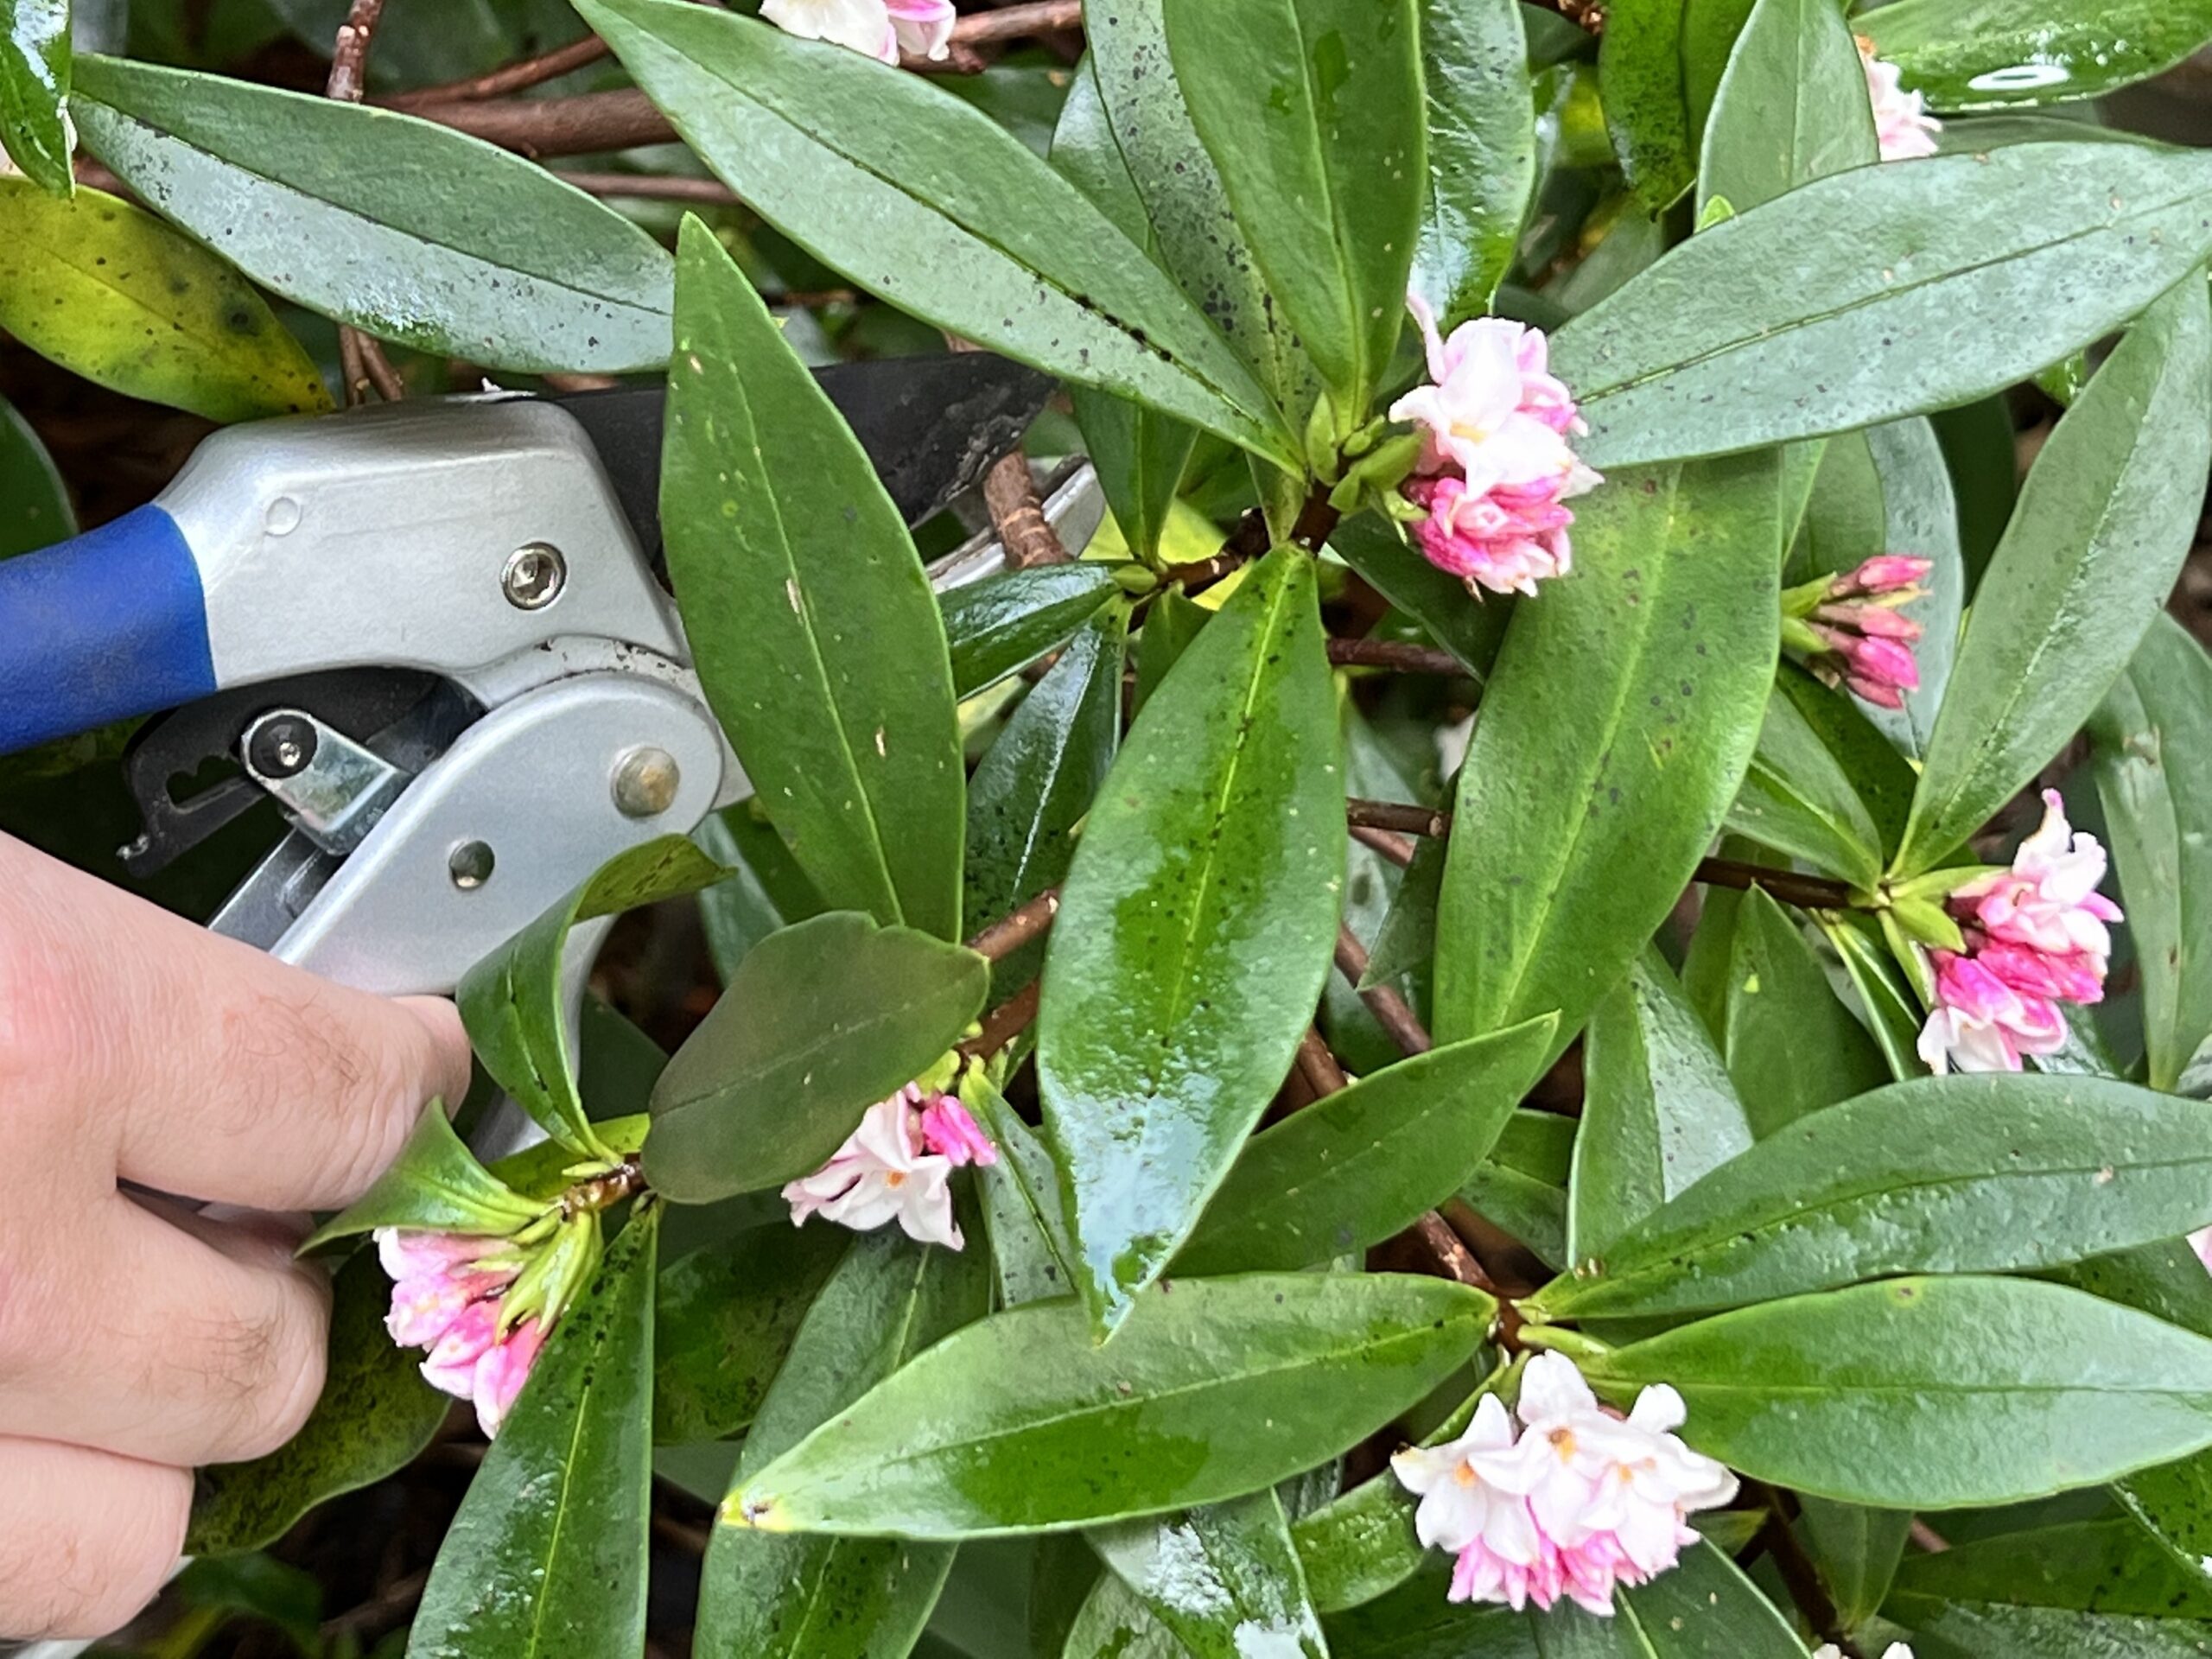
How to propagate Daphne
Daphne cuttings are best taken from December-January, using wood of the current season’s growth that has not flowered but has become firm. Insert the cuttings into pots of washed sand, or equal parts of sand and peatmoss. Cover the cuttings with glass or a clear plastic bag. Daphne can be propagated easily by layering
The most reliable way to propagate Daphne Odora plant is by layering or to use semi-ripe stem cuttings taken in early or mid summer. It is necessary to plant the stem cuttings in partially shaded areas with moist and well drained soil. Select the stem cutting from this year’s growth.
How long do daphne cuttings take to root?
The Daphne cutting will root within four to five weeks, but could take up to three months. One way to tell if the cutting has rooted is to turn the pot over and look for small, white roots. Remove all the leaves from the cutting, with the exception of the top two
Where is the best place to plant a daphne?
It needs a location with full sun or partial shade and moist soil. Well-drained soil is a must. Choose your site well because daphne doesn’t like to be transplanted. Plants grow best if they are given a thick but light layer of mulch.
How quickly does daphne grow?
Daphne is slow growing shrubs, it can take 7-10 years to reach mature size and then only around 3-5 feet depending on the variety. Daphnes are mostly winter or spring flowering.


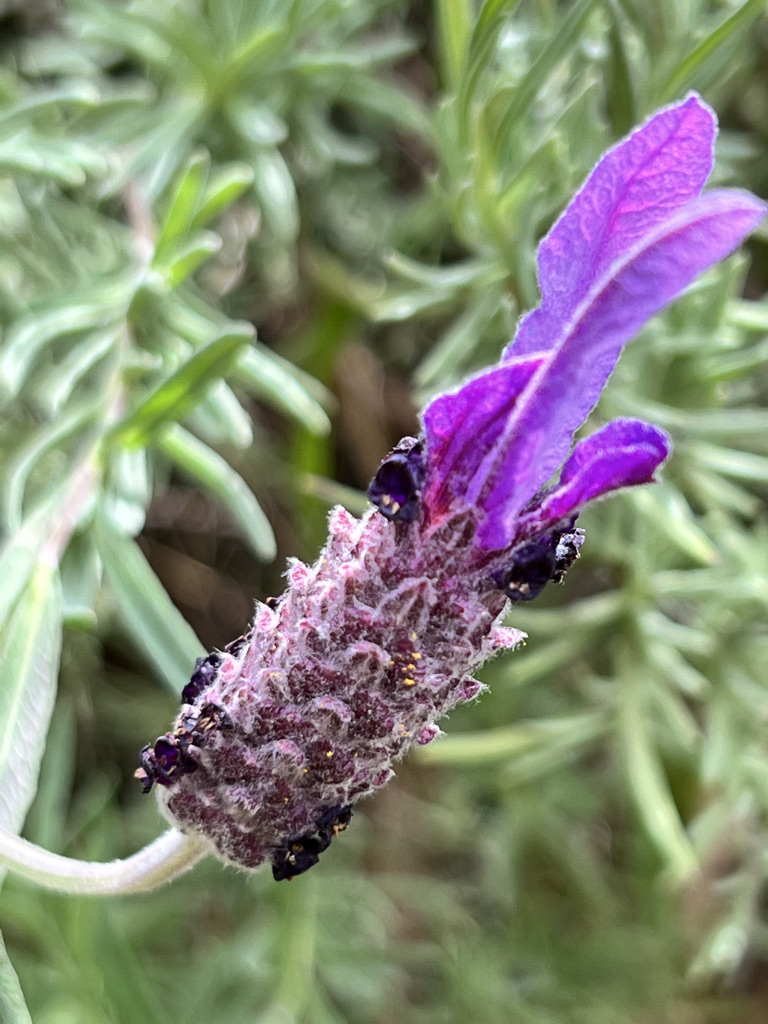
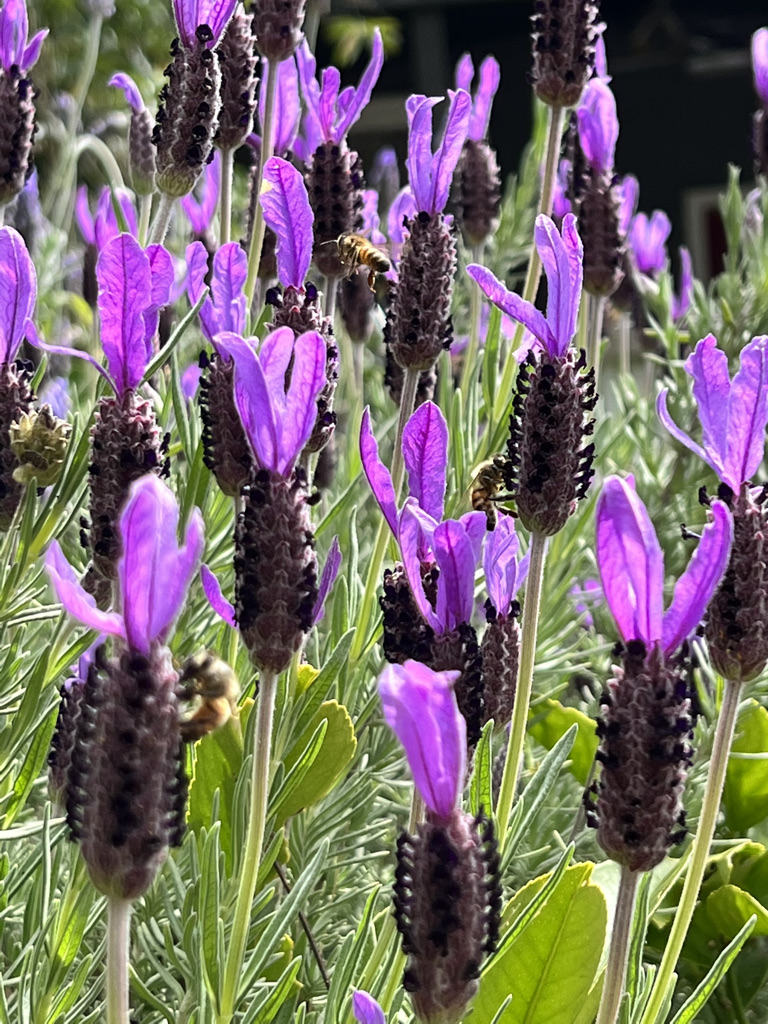
How to propagate Lavender
It’s super easy to propagate lavender, to take a cutting for lavender it can be anytime of the year. Make sure it’s not woody that it has new green growth. The cutting should be about 20cm long, I usually propagate a lot of lavender at one time because not all of them get roots. Place the cutting into pots with soil and water, if you are propagating in Summer the cuttings will need to be watered every day sometimes twice a day if really hot. To tell if you need to water touch the top of the soil to see if it is damp or dry. If it is not wet you will need to water.
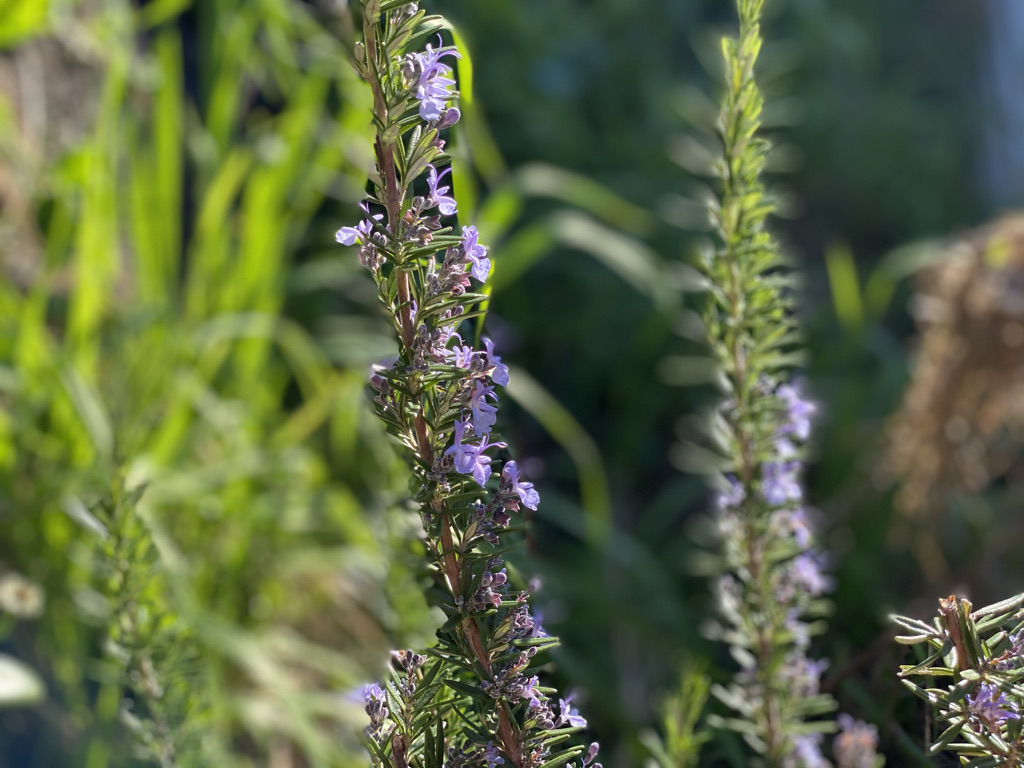
How to propagate Rosemary
It’s easy to propagate Rosemary, to take a cutting for Rosemary make sure its not flowering. Make sure it’s not woody that it has new green growth. You should be able to bend the cutting if it is a new green growth, if the cutting is woody you will be able to snap it in half.
The cutting should be about 20cm long, I usually propagate a lot of Rosemary at one time because not all of them get roots. Place the cutting into pots with soil and water, if you are propagating in Summer the cuttings will need to be watered every day sometimes twice a day if really hot. To tell if you need to water touch the top of the soil to see if it is damp or dry. If it is not wet you will need to water.
How to propagate Sage
It’s easy to propagate Sage to take a cutting for Sage make sure its not flowering and that it has new green growth. The cutting should be about 20cm long, I usually propagate a lot of Sage at one time because not all of them get roots. Place the cutting into pots with soil and water, if you are propagating in Summer the cuttings will need to be watered every day sometimes twice a day if really hot. To tell if you need to water touch the top of the soil to see if it is damp or dry. If it is not wet you will need to water.

How to propagate Oregano
It’s easy to propagate Oregano to take a cutting for Oregano make sure its not flowering and that it has new green growth. The cutting should be about 20cm long, I usually propagate a lot of Oregano at one time because not all of them get roots. Place the cutting into pots with soil and water, if you are propagating in Summer the cuttings will need to be watered every day sometimes twice a day if really hot. To tell if you need to water touch the top of the soil to see if it is damp or dry. If it is not wet you will need to water.
How to propagate Thyme
It’s easy to propagate Thyme to take a cutting for Thyme make sure it’s not flowering and that it has new green growth. The cutting should be about 20cm long, I usually propagate a lot of Thyme at one time because not all of them get roots. Place the cutting into pots with soil and water, if you are propagating in Summer the cuttings will need to be watered every day sometimes twice a day if really hot. To tell if you need to water touch the top of the soil to see if it is damp or dry. If it is not wet you will need to water.
How to propagate Basil
It’s easy to propagate Basil to take a cutting for Basil make sure its not flowering and that it has new green growth. The cutting should be about 20cm long, I usually propagate a lot of Basil at one time because not all of them get roots. Place the cutting into pots with soil and water, if you are propagating in Summer the cuttings will need to be watered every day sometimes twice a day if really hot. To tell if you need to water touch the top of the soil to see if it is damp or dry. If it is not wet you will need to water.

How to propagate Mint
It’s easy to propagate Mint to take a cutting for Mint make sure its not flowering and that it has new green growth. The cutting should be about 20cm long, I usually propagate a lot of Mint at one time because not all of them get roots. Place the cutting into pots with soil and water, if you are propagating in Summer the cuttings will need to be watered every day sometimes twice a day if really hot. To tell if you need to water touch the top of the soil to see if it is damp or dry. If it is not wet you will need to water.

If you liked this post and it helped you to propagate some plants, let me know in the comments below the post.
FOLLOW ME on Facebook, Instagram, Pinterest and Twitter to see more guides, recipes, health information and gardening ideas and get all the latest updates.


 How to choose outdoor furniture
Leave a Reply